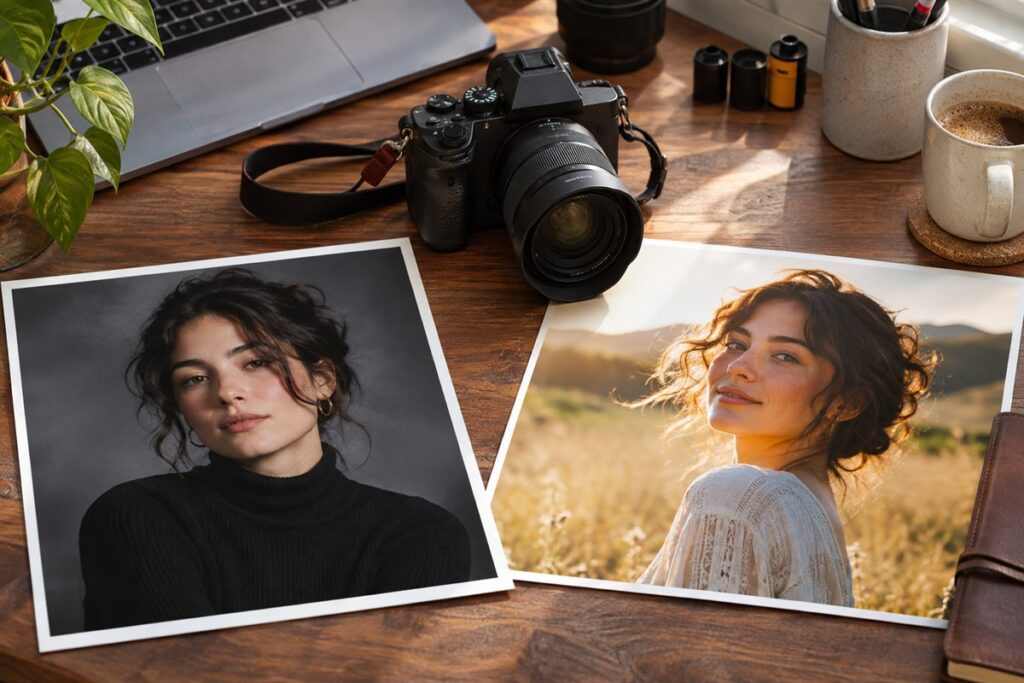
Studio photography gives you full control over light, background and timing, while location photography trades some of that control for atmosphere, variety and a sense of place. Choose the studio when consistency matters most, and choose a location when the setting is part of the story.
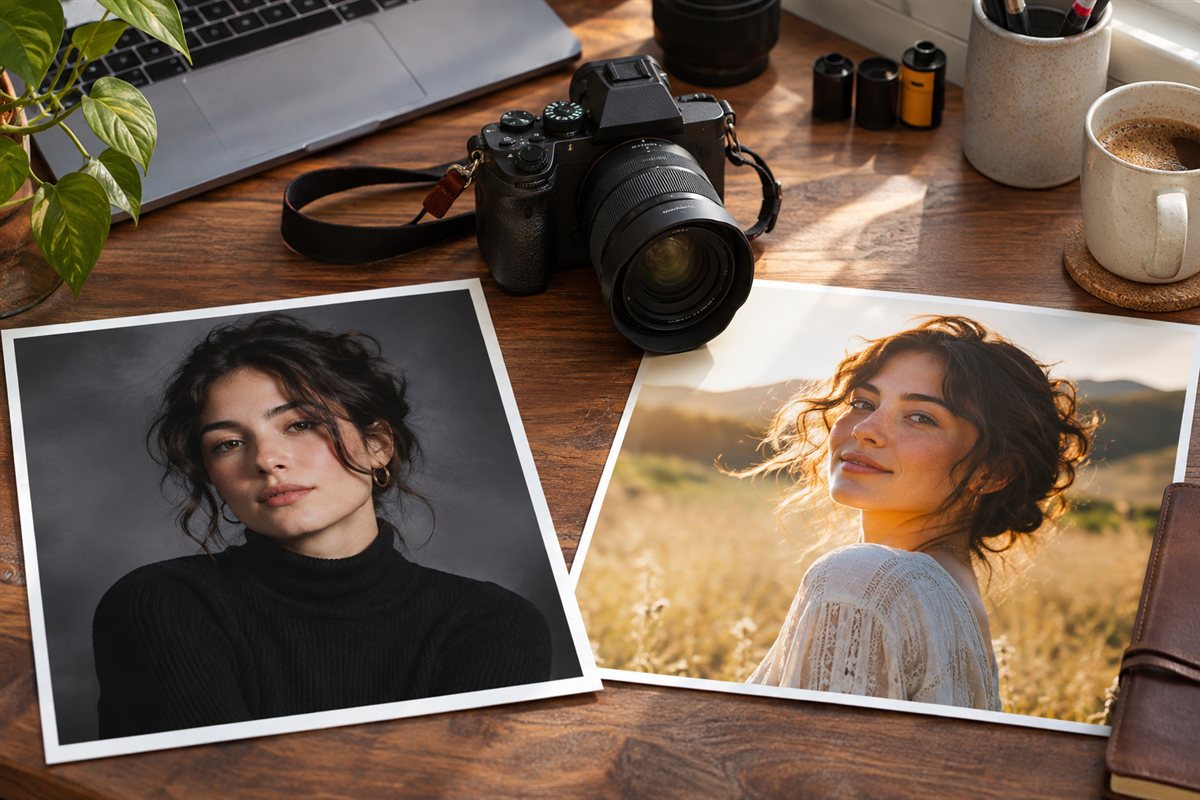
What Studio Photography Offers
In a studio you build the light yourself. That means the same setup can be repeated on any day, at any hour, in any weather. It is the usual choice for product images, headshots, fashion lookbooks and anything that needs a clean, matching set of results.
- Control: You decide the direction, softness and color of every light.
- Repeatability: Save your lighting notes and recreate a look later.
- Comfort: No weather delays, and a private space for clients and models.
- Limits: Space, gear and a blank backdrop can feel flat if the idea is weak.
What Location Photography Offers
On location, the environment does half the work. A street, forest, kitchen or office adds context that a backdrop cannot match. Natural light can look beautiful, but it changes quickly, so you need to adapt.
- Atmosphere: Real surroundings add depth and storytelling.
- Light: Window light, open shade and the hour after sunrise or before sunset are common favorites.
- Flexibility: You can move quickly and try many backgrounds in one session.
- Limits: Weather, crowds, permissions and changing light all affect the result.
Side by Side
| Factor | Studio | Location |
|---|---|---|
| Light control | Full | Partial |
| Gear to carry | Stays in one place | Must be portable |
| Weather risk | None | High |
| Sense of place | Built with props | Natural |
| Consistency across a set | Easy | Harder |
How to Decide for a Project
- Write down the purpose of the images. Catalog work leans toward the studio, lifestyle work toward a location.
- Think about how many images must match in look. Large matching sets are easier in a studio.
- Check your space and gear. A small room with one window can work as a mini studio.
- Visit the location ahead of time, at the same hour you plan to shoot, and note where the light falls.
- Prepare a backup, such as a reflector, a portable flash or an indoor option.
Mixing Both Approaches
Many photographers blend the two. You can use a portable flash and a softbox on location to gain studio-like control, or bring a real plant, textured wall or window light into a home studio. Building a simple kit from one flash, one modifier and one reflector is a sensible baseline for either approach.
Costs and Logistics Compared
Both approaches cost money, but in different places. A studio asks for space, backdrops, stands and lights, and if you rent a studio there is a time-based fee on top. Location work shifts the cost to travel, permits where needed, assistants who help carry gear, and the time lost when weather or crowds interfere.
Think about the hidden time as well. A studio session usually has a predictable start and finish because everything stays in place. On location, you spend part of the session moving, scouting angles and waiting for the light. That is fine when you enjoy the process, but it matters if you bill by the hour or have a client waiting.
- Studio: higher setup effort the first time, lower effort for every repeat session.
- Location: lower setup effort per shoot, higher variability in how long each shoot takes.
- Both: build a checklist of gear, batteries, cards and spare cables so nothing is forgotten.
Compare budget tiers qualitatively. A basic studio can be a corner with a window, a reflector and a plain wall. A mid-level setup adds a flash or continuous light with a softbox. A full studio brings multiple lights, a backdrop system and controlled space. Location work scales the same way, from available light only to a portable kit with a flash and stand.
Lighting Choices in Each Setting
Lighting is the heart of the decision. In a studio, you choose between flash and continuous light. Flash is powerful and freezes motion, but you need to learn exposure with it. Continuous light shows you the result immediately, which is friendlier for beginners and for video, but it is usually less powerful at a given size.
Modifiers shape the light. A large softbox gives soft, gentle shadows, while a small, bare source gives harder, more dramatic ones. A reflector bounces light back into shadows, and a flag or black panel removes light to add contrast. Learning how distance changes softness is one of the most useful lessons: the closer the source is to the subject, the softer the light appears relative to the subject.
On location, you work with what exists. Open shade gives even light, a window gives directional light you can shape with a curtain or reflector, and low sun gives warm, long shadows. If the sun is harsh, move the subject into shade or place a diffuser between sun and subject. When you add flash outdoors, check your camera manual for flash sync limits, since they affect how you balance flash and daylight.
Working with Clients and Models
People respond differently to each setting. A studio is private and predictable, which helps nervous subjects relax and lets you direct without an audience. It also makes it easy to offer refreshments, a changing area and a place to review images on a screen.
A location can feel more natural for people who stiffen in front of a plain backdrop. Walking and talking in a real environment often brings out more relaxed expressions. The trade-off is that you manage bystanders, noise and changing conditions while also directing the shoot.
- Share a clear brief ahead of time: purpose, outfits, mood and timing.
- For location work, tell the client what to wear for the weather and how far they will walk.
- Agree on a plan B in case the weather or access changes.
- Get written permission when you photograph on private property, and check local rules about public spaces and permits.
With children, pets and large groups, a controlled studio often saves time. For lifestyle, family and brand stories, a location adds meaning that a backdrop cannot supply.
Gear Checklists for Each Approach
A tidy kit makes either approach easier. For a home or small studio, the basics are a camera, a lens of a flexible focal length, a tripod, one light with a modifier, a reflector, a backdrop and a few clamps. Extras such as a tethering cable, a stool and a roll of tape quickly prove their worth.
For location work, weight and speed matter more. Choose a compact flash with a way to trigger it off camera, a collapsible reflector, a small stand, spare batteries and a bag you can carry comfortably. Pack weather protection such as a rain cover for the camera and a towel for wiping lenses. A light stand outdoors should be weighted with a sandbag or a heavy bag, because gusts can topple it and damage gear or hurt someone.
Always check cables and plugs for safety in a studio, tape down loose cords, and keep lights and hot bulbs away from flammable materials. Read the manual for each light about heat, ventilation and mains power. When working in a rented space, ask about their electrical limits.
Deciding by Genre and Delivery
Genre often points to the answer. Product shots, ID-style portraits and e-commerce lookbooks benefit from matching sets, so a studio is the natural fit. Weddings, travel features and editorial lifestyle work depend on context, so location is usually better. Portraits can go either way, depending on whether you want a clean, timeless look or a personal, story-driven one.
Think about how the images will be used. If they will sit side by side on a website grid, consistent light and background keep the set tidy. If each image will stand alone in an article or on a wall, variety becomes a strength.
Finally, think about the way you work best. Some photographers enjoy building a scene from nothing, while others prefer reacting to what is in front of them. Try both for a month with a simple goal for each, then compare which images you are proudest of and which sessions you enjoyed. That feedback is more reliable than any rule, and it will tell you where to invest in better gear next.
FAQ
Which is easier for a beginner?
Location work with window light is often the gentlest introduction because it needs little gear. A studio teaches lighting more directly, but it asks for more equipment and space.
Do I need strobes for location work?
No. Many strong location images use only natural light and a reflector. A portable flash becomes useful when the light is harsh or too dim for your subject.
Can I set up a studio in a small apartment?
Yes. A room with one window, a reflector and a plain wall or paper backdrop is enough for portraits and small products. Keep stands weighted and cords tidy, and check how much clear space you need around the subject.
Is natural light enough for a studio-style look?
Often, yes. A large window with a diffuser and a reflector can give soft, flattering light. The limit is consistency, because natural light changes with time and weather.
Should I choose flash or continuous light for a first studio?
Continuous light is easier to learn because you see the result as you work. Flash gives more power and motion control. Many beginners start with one and add the other later.
How early should I arrive at a location shoot?
Early enough to walk the site, find the best light and set up without rushing. Arriving well before the client lets you test your plan and adjust if conditions change.
Do I need a permit to shoot on location?
It depends on the place and the kind of shoot. Public and private venues often have their own rules, so ask the owner or the local authority before you plan a larger session.
What is the best lens for both settings?
A flexible zoom or a fast standard prime covers most needs. Choose by the space you have and the framing you like, and check that it suits your camera mount.
How do I keep a location set consistent with a studio set?
Use a similar light direction, color and background tone, and shoot with the same white balance and lens choices. A reflector and a portable flash help you match the look.
The Short Version
Choose a studio when you need control and repeatable results, and choose a location when atmosphere and variety matter more. Most photographers end up using both, and a small portable kit lets you move between them.