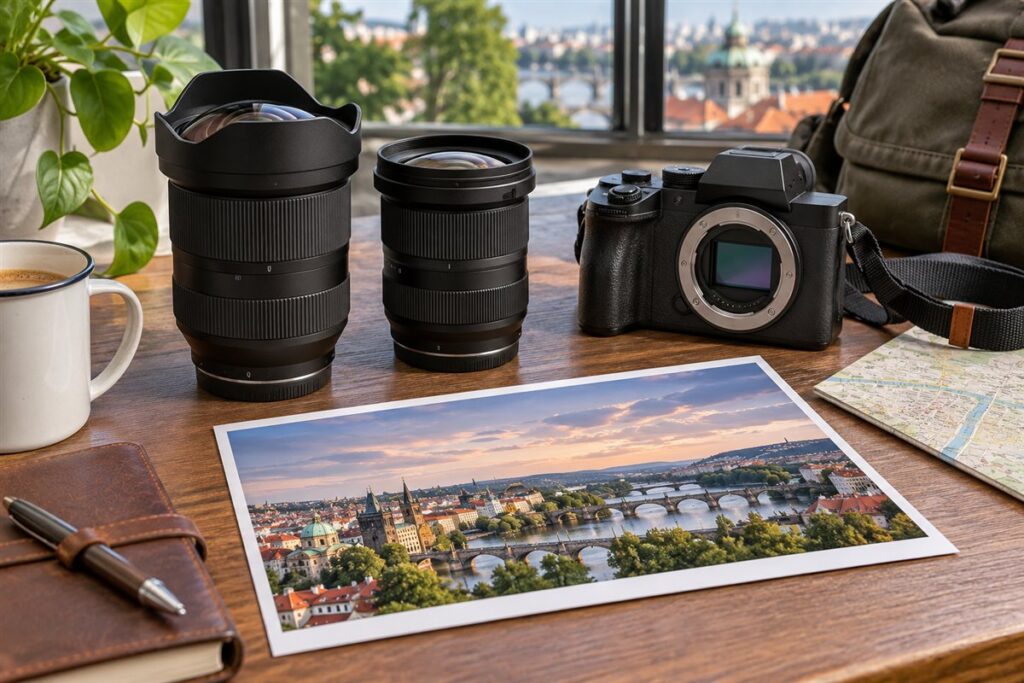
Both lenses are constant f/4 zooms for Sony E-mount, so they share an aperture and a general purpose. The main difference is range: the Tamron begins wider at 17mm but stops at 50mm, while the Sony runs from 20mm to 70mm. Confirm sensor coverage, size and weight on each maker’s page before deciding.
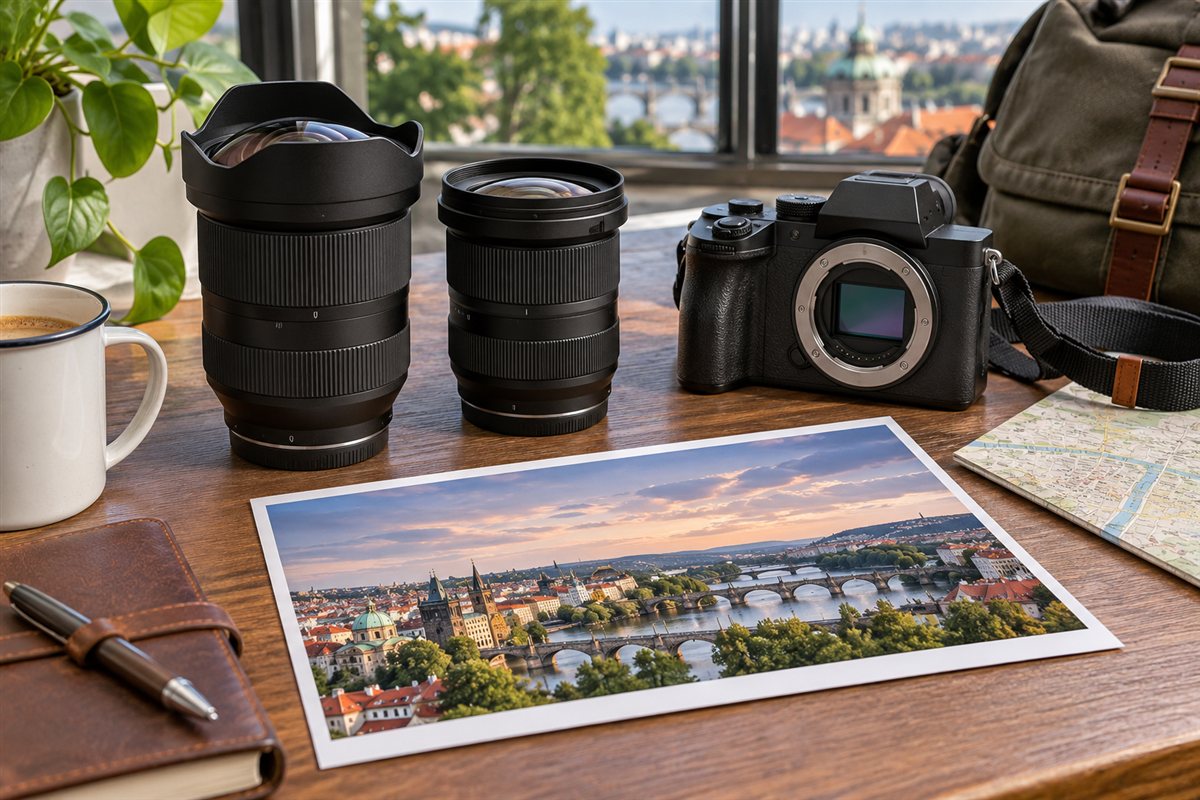
What Each Lens Is For
- Sony FE 20-70mm f/4 G: a first-party zoom for travel, video and general work, with a longer end that reaches short portrait distances.
- Tamron 17-50mm f/4 Di III VXD: a third-party zoom made for E-mount, with a wider opening view and a shorter reach.
Comparison Table
| Trait | Sony FE 20-70mm f/4 G | Tamron 17-50mm f/4 Di III VXD |
|---|---|---|
| Mount | Sony E | Sony E |
| Range | 20mm to 70mm | 17mm to 50mm |
| Aperture | f/4 constant | f/4 constant |
| Maker | Sony | Tamron |
Wide End Versus Long End
Three millimeters at the wide end make a visible difference. At 17mm you fit more into tight interiors, group shots in small rooms and sweeping vistas. The Tamron’s 50mm top end is a natural normal view, good for street and everyday scenes.
The Sony’s 70mm end is more useful for portraits, details and compressed backgrounds. If you often crop or step back to frame people, the longer reach saves effort. If you more often wish you could fit one more wall in the frame, the Tamron suits you.
First-Party Versus Third-Party
Sony lenses are designed alongside Sony bodies, so features such as autofocus and in-camera corrections are tuned closely together. Tamron makes lenses for E-mount under license arrangements and updates its own design. In either case, check whether your body supports the lens’s features, and look at the maker’s page for details on stabilization, close focus and weather sealing.
How to Choose
- Write down your most common focal lengths from past photos. Many editing programs can show this.
- If most of them sit under 24mm, favor the Tamron. If many sit above 50mm, favor the Sony.
- Think about the kind of work: vlogging and interiors versus travel and portraits.
- Compare size on your body with a hood attached.
Whichever lens you choose, a few habits help at f/4. Raise ISO before you drop the shutter speed too low, and use a sensible hand-held floor of roughly 1/60 at the wide end and faster as you zoom in. Both lenses suit a single-lens travel kit when weight matters.
Vlogging and handheld video with a constant f/4 zoom
For anyone who films themselves or shoots handheld clips, the wide end of a zoom decides how much of you and your surroundings fits in the frame at arm’s length. A lens that starts wider gives more room to hold the camera naturally without cropping your head or leaving out the background. A longer end helps with interviews or details from a distance.
Beyond range, think about stabilization. Check whether your camera body has in-body stabilization, whether the lens offers its own, and how the two work together according to each maker’s page. Some camera modes crop the image when stabilization is on, which narrows the field of view, so test the framing you actually get at the wide end.
- Check focus behavior and how the image changes when focus shifts between you and the background.
- Watch sample footage for focus hunting and for smoothness of zoom.
- Think about the lens weight on a handheld rig or gimbal.
- Consider a small windscreen and external microphone, since lens motor noise can reach the camera microphone.
- Use a neutral density filter outdoors to keep shutter speed sensible.
Pick the lens whose framing matches how far you hold the camera from your face.
Interiors, real estate and small spaces
In tight rooms, every millimeter at the wide end helps. A lens that begins at 17mm can capture a small kitchen or bathroom from a corner, where a slightly longer lens would crop out important features. For real estate and interior work, wider coverage gives you more options, but it also requires care with perspective.
Keep the camera level, usually at about chest height, and use the grid lines in your viewfinder to align verticals. Wide lenses stretch objects near the edges, so avoid placing furniture or people at the corners. Where you must tilt, correct converging lines in editing. If you shoot many rooms in a day, a lighter lens and a compact tripod keep you moving.
- Use a tripod for low ISO and consistent framing between shots.
- Bracket exposures when windows are much brighter than the room.
- Turn off ceiling lights that cast a color cast, or correct in editing.
- Check corner sharpness on test shots, since edges can be soft on wide zooms.
- Remove clutter before shooting rather than editing it out later.
If most of your work is interiors, a wider starting point may matter more than extra reach.
Finally, shoot a few alternative angles of every room, so that you have choices when you edit later.
Third-party lenses: firmware, warranty and support
Choosing between a first-party and a third-party lens involves more than the optics. A lens made by the camera maker is designed to work with its bodies, and features are usually fully supported. A third-party lens is designed to match, but feature support may vary between camera models, and new body releases can bring changes.
Check the lens maker’s compatibility list for your camera. Look at which functions are supported, such as autofocus modes, eye detection, stabilization coordination and in-camera correction. Also check how firmware updates are applied, which may need a dock, a USB connection or the camera itself, and read the instructions carefully.
- Check warranty terms for each lens and what they cover.
- Find out where the nearest service center is, if repairs are needed.
- Look at the return policy so you can test the lens thoroughly.
- Keep your camera firmware updated to improve compatibility.
- Check how the lens is identified in raw editing software so profiles apply correctly.
Neither route is automatically better; what matters is how well the specific lens works with your specific camera.
Keep notes about the lens serial number, firmware version and purchase date in one place. If you ever need service, those details speed up the process, and they also help when you sell the lens later and a buyer asks questions.
Street and travel use with a limited range
A lens that ends at 50mm is a street and everyday tool. It covers wide scenes and the natural view of a normal lens, and it keeps you close to your subjects, which many street photographers prefer. The limit is reach: you cannot bring distant subjects closer, so you must move or crop.
A lens that extends to 70mm gives you tighter portraits and detail shots without moving, which suits travel where access is limited, such as a fenced monument or a stage. Think about what you will photograph. If you plan to shoot architecture, markets and city views, the wider lens may serve you well. If you will photograph people at a distance or details, the longer reach helps.
- Practice the zoom-with-your-feet habit if you choose the shorter lens.
- Use zone focusing at f/8 for quick street shots.
- Carry a compact second lens if you want reach.
- Keep your camera ready with a sensible shutter speed, such as one that freezes walking people.
Respect local rules and people’s privacy when photographing in public spaces.
Consider the social side of shooting in public as well. A smaller, quieter lens attracts less attention and lets people behave naturally. Smile, keep the camera low between shots, and be ready to delete a photo if someone objects. Good manners help you work in the same place again and keep you out of difficulty. Pack light so that you stay alert and ready, and wear comfortable shoes.
Testing a lens in the first week and knowing when to return it
When your lens arrives, test it quickly, within the return window. Mount it, update firmware if the maker recommends, and shoot a set of test images. Photograph a flat, detailed subject such as a brick wall at several focal lengths and apertures to look for even sharpness across the frame. Check the corners at the wide end, where zooms often show weakness.
Test autofocus at near and far distances, in good and dim light, and with moving subjects. Try the lens against the light to see flare. Shoot some video and watch the focus and zoom behavior. Listen for unusual noises and feel the rings for smooth movement.
- Compare left and right sides of the image for uneven sharpness.
- Check that the zoom ring does not feel loose or gritty.
- Look through the lens for dust or marks.
- Keep the packaging until you are sure.
If something seems wrong, contact the seller promptly. A lens that meets your needs on day one is more likely to keep doing so.
Document your tests with a few labeled sample images, so that you can show the seller or maker precisely what you noticed. Clear evidence makes warranty claims and returns faster and more pleasant, and it protects you if a problem develops slowly. Take photos of the packaging and serial number as well.
FAQ
Do both work with Sony autofocus?
Both are made for E-mount and support autofocus. The exact speed and tracking behavior depends on the body, so check the maker’s compatibility notes.
Is f/4 good for low light?
It is workable with modern sensors, though f/2.8 lenses admit about twice the light. Keep shutter speeds sensible and raise ISO if needed.
Is a 17mm start much better than 20mm?
It is noticeably wider, which helps in tight interiors, group shots and vlogging. Whether that matters depends on how often you find yourself short of width.
Do third-party lenses get firmware updates?
Some do, delivered through a dock, USB or the camera. Check the lens maker's support page and follow the instructions carefully.
Can I use the lens for portraits?
Yes, though the focal lengths are better for environmental portraits than tight headshots. The longer lens suits portraits better, but both work with the right distance and background.
What shutter speed should I use for video?
A common guideline is about double the frame rate, for example around 1/50 for 25 frames per second, adjusted for the look you want. Use neutral density filters in bright light.
Do both lenses focus quietly?
Focus motor noise varies by lens and camera. Check sample videos and the maker's descriptions, and use an external microphone if sound matters.
Is constant f/4 helpful?
It keeps exposure steady as you zoom, which is handy for video and quick shooting. It is less bright than f/2.8, so low light needs higher ISO or flash.
How do I tell if I need a faster lens?
If you often raise ISO to high levels, miss shots because of slow shutter speeds, or want more blur, a faster lens could help. Otherwise a lighter zoom may suit you.
The Short Version
Choose the Tamron 17-50mm f/4 if you value extra width and a compact setup for interiors and travel scenes. Choose the Sony FE 20-70mm f/4 G if you want a longer reach for portraits and details. Both give a steady f/4 aperture on E-mount.