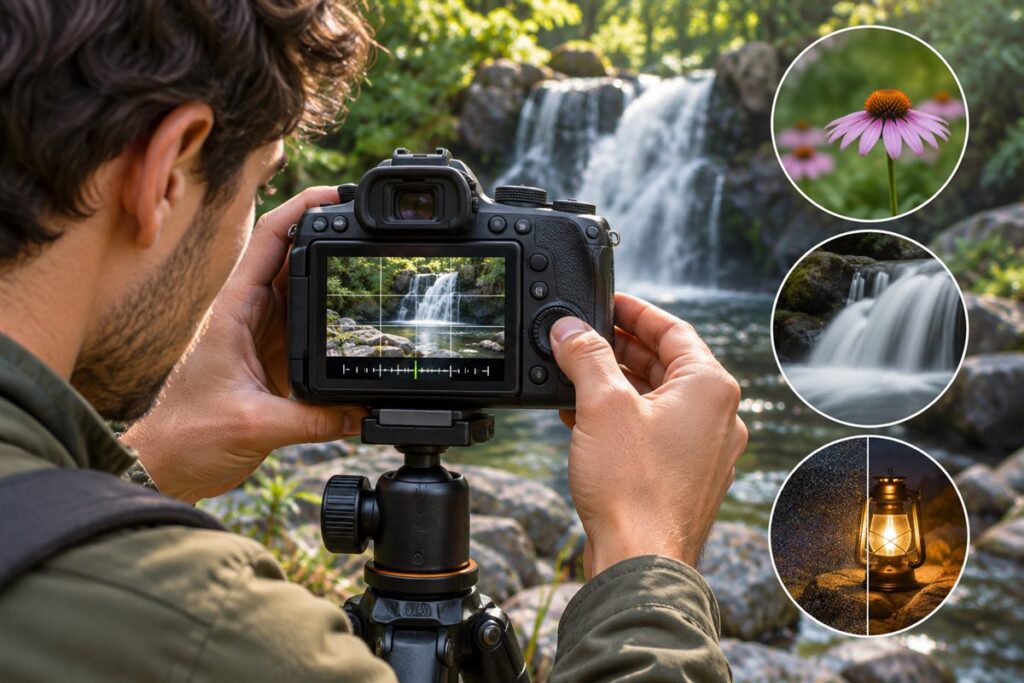
Manual mode means you choose aperture, shutter speed and ISO yourself, so you control exactly how bright the picture is and how it looks. A reliable method is to decide what matters most, set that first, then balance the other two with the camera’s exposure meter. The routine below works in most situations.
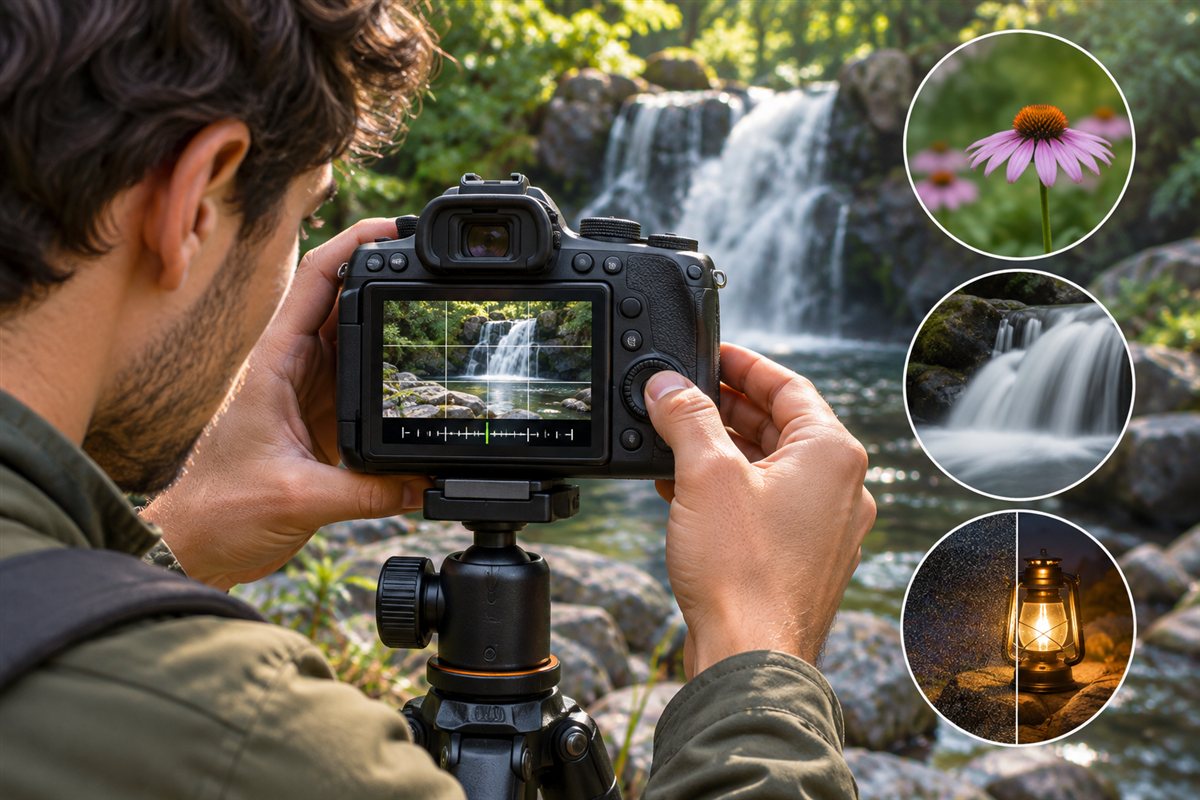
The Three Controls
- Aperture: The lens opening. A small f-number such as f/2.8 gives a bright image and a blurred background. A large one such as f/11 gives more depth.
- Shutter speed: How long the sensor sees light. Fast speeds freeze motion, and slow ones blur it.
- ISO: Sensor sensitivity. Higher values brighten the image but add noise.
Change one and the other two must change to keep the same brightness. That trade-off is the whole skill.
A Step-by-Step Routine
- Turn the mode dial to M.
- Set ISO to its base value, often 100 or 200, in bright light. Use 800 to 3200 indoors.
- Choose aperture based on the look. Use f/2 to f/4 for portraits and f/8 to f/11 for landscapes.
- Set shutter speed to roughly match your lens length for handheld shots, such as 1/60 second or faster for a standard lens, and faster for moving subjects.
- Look at the exposure meter in the viewfinder. The mark should sit near zero.
- If the meter reads too dark, slow the shutter, open the aperture or raise ISO. If too bright, do the opposite.
- Take a shot, check the screen and histogram, then adjust.
Typical Combinations
| Scene | Aperture | Shutter | ISO |
|---|---|---|---|
| Sunny day outdoors | f/8 to f/11 | 1/250 to 1/500 | 100 to 200 |
| Cloudy day | f/5.6 to f/8 | 1/125 to 1/250 | 200 to 400 |
| Indoor portrait | f/2 to f/2.8 | 1/125 | 800 to 1600 |
| Moving child | f/4 to f/5.6 | 1/500 | 400 to 1600 |
Treat these as general ranges. Light varies, so confirm with the meter and your screen.
Habits That Help
- Change one setting at a time and check the result
- Use auto ISO with a limit if the light keeps changing
- Shoot a test frame whenever the light shifts
- Practice with still objects before moving subjects
Understanding Stops and Why Changes Balance
The three controls of manual mode are linked by a unit called the stop. One stop is a doubling or halving of the light reaching the sensor, and each control can be changed in stops. Once you see the system, you can adjust settings without guessing.
- Shutter speed: each step in the usual sequence, such as 1/125 to 1/250, halves the light. Going slower doubles it.
- Aperture: each full step in the sequence, such as f/4 to f/5.6, halves the light. Smaller numbers let in more light.
- ISO: doubling the ISO value doubles the sensitivity, so 200 to 400 brightens by one stop.
- Trading stops: if you move the shutter one stop faster, you can open the aperture one stop or raise the ISO one stop to keep the same brightness.
- Third-stop steps: most cameras adjust in smaller increments for fine control.
An example: if a photo is correctly exposed but you want a shallower depth of field, open the aperture by two stops and then speed up the shutter by two stops. The picture keeps the same brightness but looks different. Learning to think in stops means you can predict what a change will do before you take the shot.
Using Metering Modes and the Exposure Meter
The exposure meter inside your camera is a helpful guide, but it is not always right. Understanding how it reads the scene lets you decide when to follow it and when to override it.
- Evaluative or matrix metering: looks at the whole scene and compares it to patterns. It works well in many situations.
- Center-weighted metering: gives most weight to the middle of the frame. It can suit portraits and predictable scenes.
- Spot metering: measures a small area. It is useful for backlit subjects, stage lighting or when you want precise control of one tone.
- Meter bias: the meter tries to make everything average in brightness. Bright snow or beach scenes may need more exposure, and dark scenes may need less.
- Move the meter off zero on purpose: a mark slightly to the plus side can protect shadows, while the minus side protects highlights.
- Check the histogram: the meter suggests, but the histogram shows the actual result.
Read your camera manual to learn how to switch metering modes and where the meter display appears. Try photographing the same scene with different modes and compare how the exposure changes. With experience you will know which mode to use for each situation.
Choosing Settings for Creative Effects
Manual mode shines when you know the look you want. Each control changes the style of the photo in a different way, and combining them gives you the picture you imagined.
- Aperture for depth: a wide opening blurs backgrounds and isolates subjects. A narrow opening keeps more of the scene sharp.
- Shutter for motion: a fast speed freezes a jumping child or a bird. A slow speed turns water into silk or traffic into light streaks, usually with a tripod.
- ISO for light: keep it low for clean images and raise it when you need a faster shutter or smaller aperture.
- Panning: follow a moving subject with a medium-slow shutter to keep it sharp and blur the background.
- Starbursts: small apertures can make bright lights appear as points. The effect depends on the lens.
- Silhouettes: expose for the bright background and let the subject fall dark.
- Low-key and high-key: deliberately underexpose or overexpose to set a mood.
Decide which effect is the priority and set that control first. Then adjust the others to keep the exposure balanced. If you cannot reach the ideal combination because of limits in light or gear, choose which compromise matters least.
Common Mistakes and How to Correct Them
Everyone makes the same few errors when learning manual mode. Recognizing them helps you correct course faster, and it makes practice more productive.
- Forgetting to recheck settings: moving from bright sun to shade without adjusting leads to dark or bright frames.
- Leaving a slow shutter on: after shooting at night, a long exposure may remain set. Check settings at the start of each outing.
- Using too low a shutter speed handheld: blur from shake looks like poor focus. Raise the shutter speed.
- Ignoring ISO: a high ISO left on from indoors causes noise outdoors.
- Chasing the meter alone: the meter can be fooled. Look at the picture and the histogram.
- Changing several things at once: you cannot tell which change worked. Alter one control, then review.
- Overusing wide apertures: very shallow depth of field can miss focus on faces. Stop down a little for margin.
- Not shooting enough: skills grow through repetition.
Make a habit of reviewing your settings before an important shot. Set a simple default, such as base ISO, an aperture of f/5.6 and a shutter of 1/250 second, then adjust from there. That starting point reduces the number of changes needed.
Practice Routines to Build Confidence
Skill in manual mode grows through repeated, deliberate practice. A few simple exercises can speed up your learning and give you a sense of control over your camera.
- One-setting exercises: spend a session changing only aperture and watch how depth of field changes. Do the same later for shutter speed and ISO.
- Same scene, many exposures: photograph a single subject while stepping through the exposure meter above and below zero. Compare the results on your screen.
- Light-change drills: walk between sun and shade and adjust settings to keep the exposure consistent.
- Time-limited challenges: try to get a correct exposure within a few seconds, to build speed.
- Keep notes: record settings and outcomes in a notebook or phone. Review which combinations worked.
- Study the metadata: look at the settings of your best images and your failures.
- Use semi-automatic modes as checks: take a shot in aperture priority, note the settings and then recreate them in manual.
- Join a local group or follow tutorials: feedback from others speeds progress.
Be patient with yourself. The first weeks may produce many poor exposures, but they teach more than automatic photos. Over time, the settings begin to feel intuitive, and you will make adjustments in seconds without thinking about the numbers.
FAQ
Is manual mode better than aperture priority?
Not always. Aperture priority is quicker in changing light. Manual shines when you want repeatable exposure, such as in a studio, at night or in panoramas.
Why are my photos too dark in manual?
The meter was probably left off zero. Look at the scale, then slow the shutter, open the aperture or raise ISO until it centers.
Should I use manual mode for every photo?
No. Use it when you want control or consistency. Aperture priority or shutter priority are quicker for changing scenes, and there is no shame in using them.
What does it mean when the meter is flashing or at its edge?
The camera is telling you the exposure is outside the range of the meter, or beyond what it can calculate with your settings. Adjust shutter, aperture or ISO until the indicator moves back toward zero.
Can I use auto ISO in manual mode?
Many cameras allow it. You set aperture and shutter, and the camera selects ISO. It is useful for changing light, but check the maximum ISO setting.
How do I shoot manual mode with a flash?
Shutter speed and aperture work together with flash power in ways that differ by system. Consult your flash manual, and start with a shutter speed at or below the camera's flash sync limit.
What is the sunny sixteen rule?
It is a rough guide that sets aperture around f/16 and shutter near one over the ISO in bright sun. Use it as a starting estimate and adjust to your scene.
Why do my photos look different on the camera screen and computer?
The screen brightness and settings vary. Rely on the histogram, and calibrate your computer display if you can.
Which setting should I change first?
Decide on what matters most for the picture, such as freezing motion or blurring the background, and set that first. Then adjust the other two to balance exposure.
The Short Version
Set ISO for the light, aperture for the look and shutter for the motion, then use the meter and histogram to refine. With a few weeks of practice the routine becomes quick and automatic.