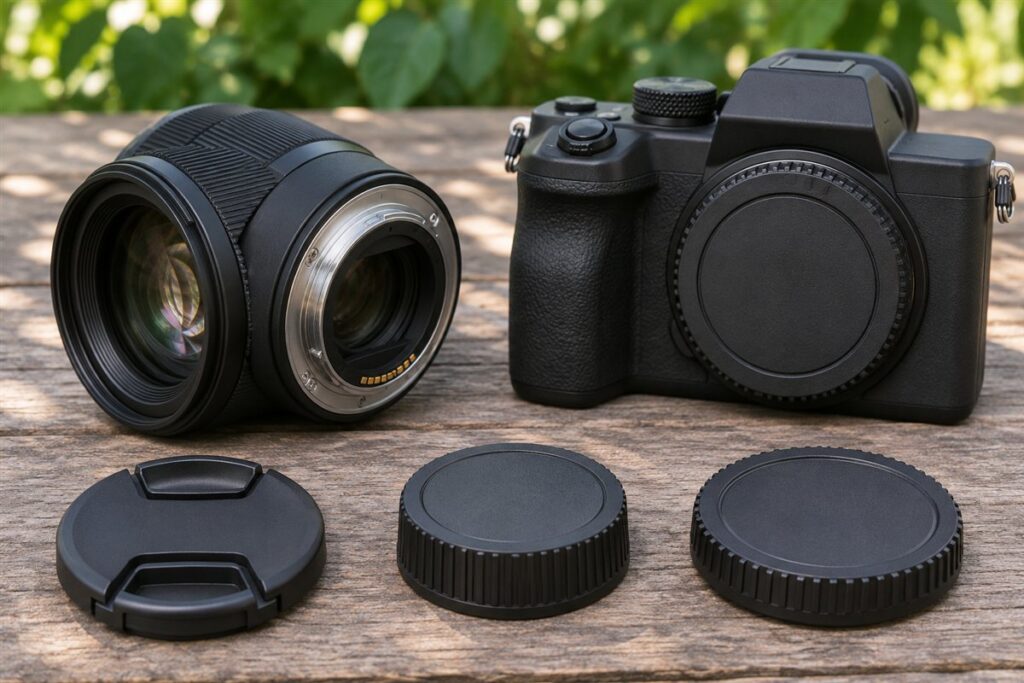
Caps are the simplest protection for your camera and lenses. To choose the right ones, match the front cap to your lens filter thread or hood, and the body cap and rear cap to your camera mount. A snug, easy to remove fit is what you want. This guide covers sizing, fit checks, everyday habits and what to do when a cap goes missing.
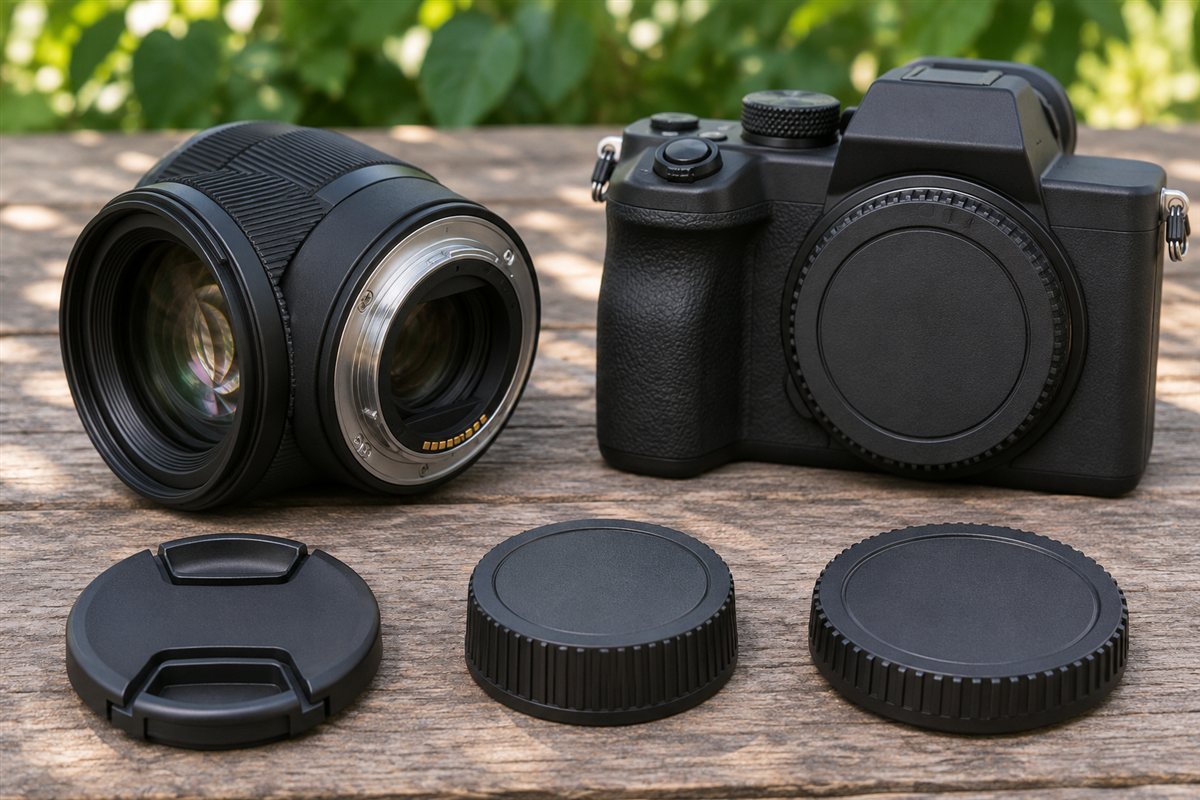
Front Lens Caps
Front caps come in two main styles. Pinch caps clip on the outside of the lens barrel or hood. Screw in caps attach inside the filter thread. Check the filter diameter printed on the front of your lens, usually shown in millimeters with a diameter symbol, and buy the size that matches.
- Pinch style: quick to remove, good for shooting often.
- Center pinch: a common design that is easy to use with the hood on.
- Cap with a hood in mind: some are made to fit over a reversed hood.
Rear Caps and Body Caps
A rear cap protects the back of a lens, and a body cap seals the camera mount when no lens is attached. These must match your mount type, so check the mount name. A loose fit can let dust in, and a very tight one can be hard to remove, so look for caps that lock with a gentle twist.
Steps to Get the Right Fit
- Read the filter size on the front of each lens.
- Note your camera’s mount name from the manual.
- Choose caps that match both measurements.
- Test the fit at home before a trip.
- Attach a small cap keeper or tether if you often misplace caps.
Quick Match Table
| Part | What to match | Where to look |
|---|---|---|
| Front cap | Filter thread or barrel | Lens front or manual |
| Rear cap | Lens mount | Lens back or manual |
| Body cap | Camera mount | Camera manual |
Good habits make caps work harder. Put the rear cap on a lens the moment it comes off the camera, and put the body cap on the camera before you set it down. Store spare caps in a small pouch so they do not rattle around the bag. Replace any cap that has cracked or lost its grip, since a loose cap can fall off during travel and leave glass or the mount exposed. A neat bag with every part covered will protect your equipment between shoots and save you from unwelcome dust in the next session.
A Worked Example: Fitting Out a Two-Lens Kit
Say you own one camera and two lenses and every cap is missing or mismatched. Begin by writing a short list. Turn each lens over and read the numbers on the front ring: one might show 58 mm and the other 72 mm. Those are the sizes for the front caps. Look at the rear of each lens and the camera front; the mount name appears in the manual and often as a marking near the mount. You need one rear cap for each lens and one body cap for the camera, all in that mount type. Next, check whether either lens uses a hood that stays on during storage. If so, a pinch cap that grips the hood outer edge may be easier than one that sits inside the thread. When the caps arrive, fit each one on a clean lens in a calm spot. A good front cap clicks on with light finger pressure and holds when you gently shake the lens. A good rear cap twists into the mount and locks with a small click. Label the pouch for spares and put it in the bag before the next outing.
Common Scenarios
A lens used with filters
If a screw-in filter sits on the front, the cap must fit the filter ring, which may be a different size or slightly shallower than the lens thread. Measure the filter, not just the lens.
A lens with a bulbous front
Some very wide lenses have built-in hoods and special caps that slip over the whole hood. Buy the cap that matches that shape, since a standard round cap will not fit.
Travel with several bodies
Mark each body cap with a dot of tape if you carry cameras of different mount types. Mixing them up is easy when you swap lenses in a hurry.
Shared kits
If several people borrow gear, keep one spare cap per size in the kit so nobody has to shoot or store a lens uncovered.
Mistakes to Avoid
- Guessing the size from the lens barrel. The filter diameter, not the outside width, decides front cap fit.
- Leaving the body open while you change lenses in a dusty place. Dust that lands on the sensor is time-consuming to remove, so swap lenses in sheltered spots with the camera facing down.
- Storing a lens without a rear cap. The rear element sits close to the sensor and collects fingerprints and dust easily.
- Using a cracked cap. A damaged edge can lose its grip or scratch the glass.
- Pressing hard to force a cap on. If it needs force, it is the wrong size or the wrong mount.
Quick Troubleshooting
| Symptom | Likely cause | What to try |
|---|---|---|
| Front cap falls off | Weak spring or wrong size | Check the filter size and replace worn caps |
| Cap will not fit over the hood | Cap made for the thread, not the hood | Use a cap designed for hood fitting, or remove the hood first |
| Rear cap feels loose | Mount mismatch | Confirm the mount name and compare with the lens back |
| Body cap is hard to remove | Tight tolerances or dirt on the mount | Press the lens release, turn gently and wipe the rim |
| Dust inside the bag | Caps left off during storage | Clean the compartments and cap every item before packing |
Care and Upkeep Over Time
Wipe caps with a dry cloth now and then, because grit trapped inside a cap can scratch the front element each time you put it on. Look at the inner felt or plastic edge of each cap and the springs on pinch types. If a cap looks bent or shows cracks, replace it. Keep spare caps in the same pouch, so they stay clean and you do not search the bag. When you clean the lens glass, remove the cap and set it face-up so the inside stays clear of dirt.
Short Glossary
- Filter thread: the threaded ring at the front of a lens, measured in millimeters.
- Mount: the connection system between lens and camera body.
- Rear cap: the cover for the back of a lens.
- Body cap: the cover for the camera opening when no lens is on it.
- Cap keeper: a small cord or sticker that ties the cap to the lens.
- Lens hood: a shade that reduces stray light and offers some protection.
FAQ
Are third party caps fine?
Many work well if they fit accurately. Avoid ones that feel loose or leave gaps around the mount.
Should the cap stay on while shooting?
No. Remove it, and keep the lens hood on to shield the glass from knocks and stray light.
Can one body cap fit all my cameras?
Only if the cameras share the same mount. Different mount types are not interchangeable, so match each cap to the camera it will cover.
Do I still need a cap if I use a protective filter?
Yes. A filter shields against some knocks and fingerprints, but a cap covers the whole front and prevents dust and scratches while the lens is stored or carried.
How do I stop losing front caps?
A cap keeper that loops around the lens barrel keeps it close when it is off. Another habit is to put the cap in the same pocket each time you remove it.
The Short Version
Match caps to filter size and mount type, choose designs that fit well, and keep spares in your bag. A few small parts keep dust and scratches off your gear. Check the fit at home, replace worn caps and cover every lens and body whenever it is not in use.