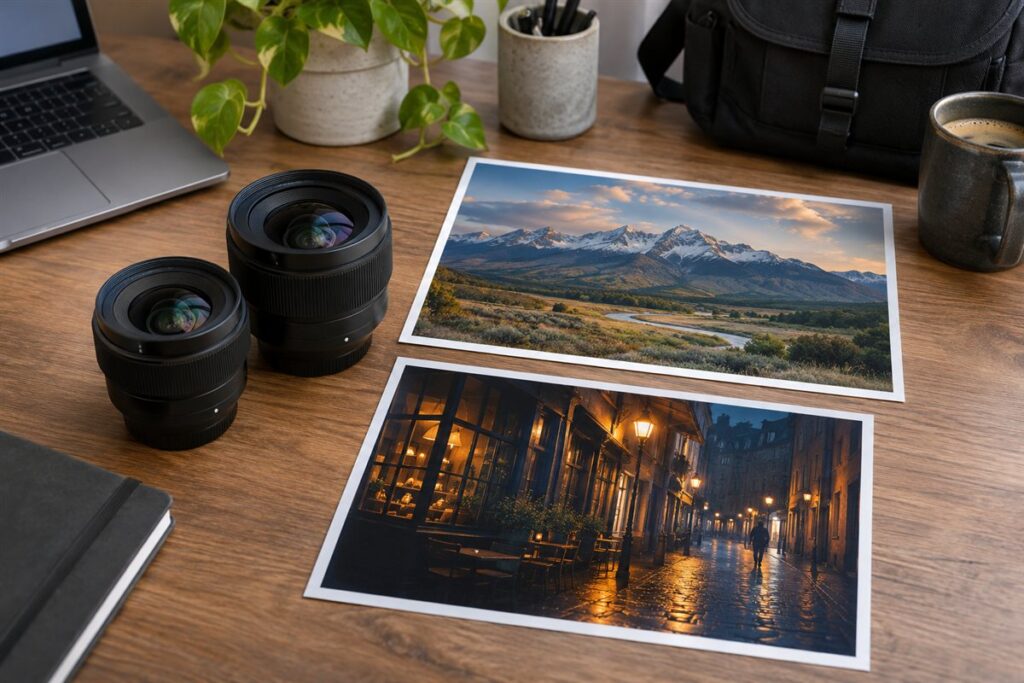
The 20mm f/1.8 G is wider and tends toward landscapes, interiors and video, while the 24mm f/1.4 GM is a brighter, more traditional wide prime for events and low light. Both fit Sony E-mount full frame bodies. Confirm exact sizes and weights on Sony’s page.
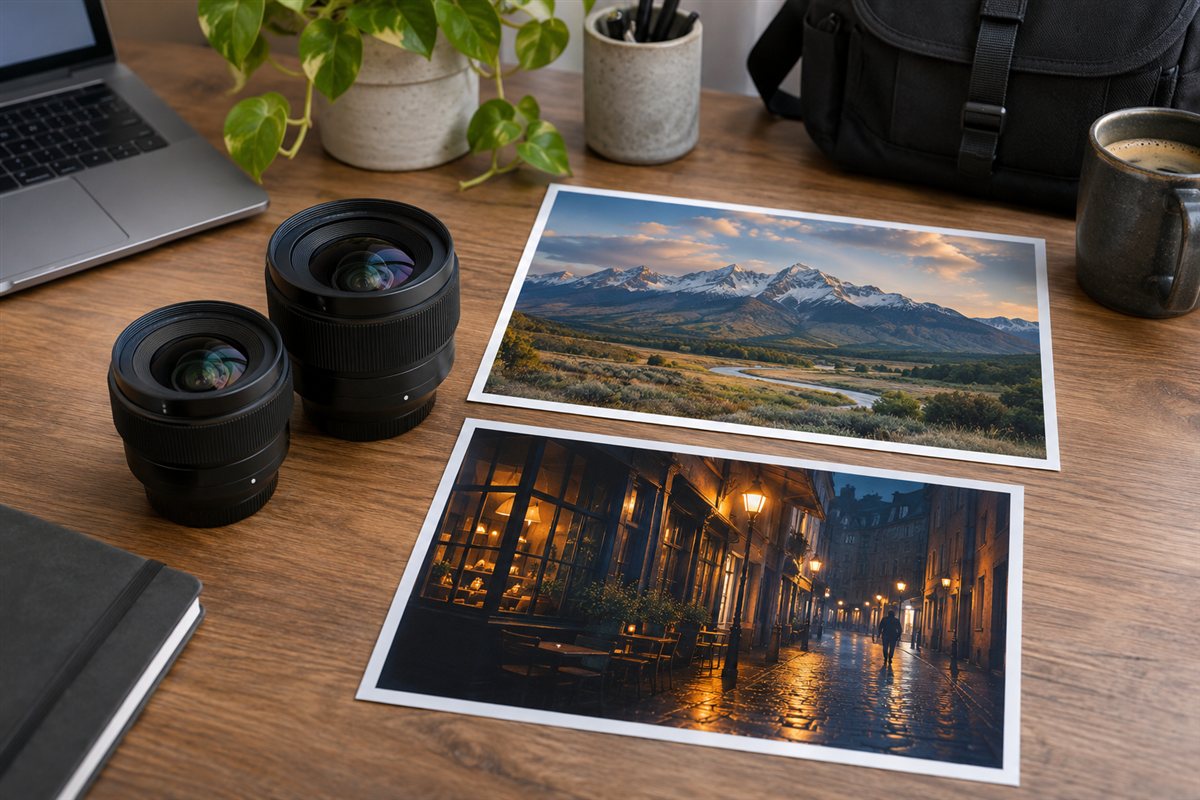
What Each Lens Is For
- FE 20mm f/1.8 G: a wide prime that suits night skies, architecture, travel and vlogging.
- FE 24mm f/1.4 GM: a fast G Master prime that suits documentary work, weddings, events and environmental portraits.
Comparison Table
| Trait | FE 20mm f/1.8 G | FE 24mm f/1.4 GM |
|---|---|---|
| Focal length | 20mm | 24mm |
| Maximum aperture | f/1.8 | f/1.4 |
| Product line | G | G Master |
| Typical use | Landscape, interiors, video | Events, documentary, low light |
Field of View and Perspective
The jump from 24mm to 20mm is clear in the frame. At 20mm you fit more of a room, a skyline or a group of people. Objects near the edges stretch a little more, which gives scenes a dramatic feel but needs care around faces.
At 24mm the view is still wide but more natural. It is a favorite focal length for reportage because it shows context without overstating perspective.
Aperture and Low Light
The difference between f/1.4 and f/1.8 is a bit less than one stop of light. That gives the 24mm an edge in dim venues and a somewhat shallower depth of field. For astrophotography, a faster aperture lets you use a shorter exposure, but the 20mm’s wider view captures more sky in one frame. As a general guide, many night sky shooters keep exposures to roughly 10 to 20 seconds at these focal lengths to limit visible trailing, though this depends on your sensor and the target.
How to Choose
- Pick the focal length you need most. If you often feel cramped, choose 20mm.
- Think about light. If you shoot in dim rooms with moving subjects, choose f/1.4.
- Consider video. A 20mm view suits handheld vlogging and gimbal work.
- Compare how each feels on your body with a hood.
- Check Sony’s page for filter size, close focus and weather sealing.
If you shoot video as well as stills, remember that a wider lens shows more camera movement, so smooth walking technique or a stabilized body helps. Many shooters keep one of these primes on the camera and a longer zoom in the bag for everything else.
Composition and Edge Stretching at 20mm and 24mm
Four millimeters sounds small, but it changes how you compose. At 20mm, subjects near the edges stretch outward, and a person standing in a corner can look wider than in life. At 24mm the stretching is milder, and groups sit more naturally across the frame. Neither is wrong, since the stretch gives a dynamic feel to landscapes and architecture, but you should choose with your subjects in mind.
Foreground is your friend with both lenses. Step close to a rock, a plant, a railing or a doorway and let the background fall away behind it. This builds depth and keeps the picture from feeling like a distant postcard. For people, keep faces toward the center of the frame, and avoid placing heads at the very edges. Tilting the camera up or down makes vertical lines lean, so hold it level when you want buildings to look upright, and straighten in editing if you cannot.
- Pick a clear subject before widening the view, because a wide lens makes everything small
- Use lines such as roads, walls and rivers to lead the eye in
- Check the edges and corners before you press the shutter
- Take a step closer than feels comfortable, then compare with a step back
Try shooting the same scene at both focal lengths if you can, perhaps by borrowing a lens or using a zoom you own set to each number, and notice which framing you prefer.
Interiors and Real Estate With a Wide Prime
Small rooms often call for a wide view, and a prime lens is a good partner for interior work because you know exactly what it will capture. With 20mm you can show more of a room from a corner, which helps in compact spaces. With 24mm the view looks closer to how people remember a room, and it is gentler on furniture near the edges.
Technique matters more than millimeters. Mount the camera on a tripod at about chest height, level it with the grid or electronic level, and stand in a corner so that walls form a pleasing angle. Keep vertical lines straight, since leaning walls suggest a careless photograph. If the ceiling is of interest, avoid tilting up sharply, and consider moving back and cropping.
The aperture is rarely the main concern here, since tripod work lets you stop down for depth of field and use a longer shutter speed. For handheld shots in dim rooms, the brighter lens has an advantage. Light is usually mixed from windows and lamps, so shoot raw and fix color in editing. For bright windows, bracket your exposures.
- Tidy the room and straighten soft furnishings
- Turn on lamps for a warm balance, and close distracting doors
- Shoot a wide establishing frame, then medium details
- Check reflections in mirrors and glass for your own image or tripod
Handheld Low Light and Depth of Field
The extra light-gathering power of the f/1.4 lens helps when you shoot handheld in dim places, such as restaurants, small venues and evening streets. The advantage is a bit less than one stop, which can mean a faster shutter speed or a lower ISO. Whether that matters depends on your subject. For a person standing still, a wide lens can be hand-held at fairly slow shutter speeds, especially with body stabilization. For a dancer or a child running, you need speed, and the brighter lens helps.
Depth of field also differs. Wide lenses have deep focus at moderate distances, so backgrounds are rarely very blurry unless you are close to the subject. The faster aperture lets you separate a nearby subject from the scene more easily. If you plan to use the widest aperture, focus carefully, because the area in sharp focus is thin up close. Use eye or face detection if your camera has it, and review pictures at full size.
At wide apertures, corners may be softer and vignetting stronger, so stopping down a little can improve edges. Check sample images at the apertures you plan to use. A few practical habits:
- Brace your elbows and exhale before shooting
- Switch on stabilization in the body if available
- Use a wall or table as support when possible
- Raise ISO rather than accepting blur from a slow shutter
Video, Vlogging and Gimbal Use
Wide primes are common in video work, and the choice between 20mm and 24mm affects how you frame yourself and your surroundings. At arm’s length, a wide lens shows the speaker and a good amount of background, which is the reason it is popular for vlogging. The wider the lens, the more you must watch the edges, since your arm, a lamp or a passerby can intrude. A little more breathing room also hides small shaky movements.
Think about the practical factors. Check the weight and balance on your gimbal or handheld rig, and the maker’s stated rating for your gimbal. Look into the focus behavior: is it quiet, does it hunt, does the picture change size when focus moves? Focus breathing varies between lenses and sometimes the body can reduce it. Review sample clips and test your own copy.
Exposure control is another factor. Shooting video outdoors in bright light often requires a neutral density filter to keep the shutter speed reasonable, so check the filter thread size and whether the front of the lens rotates. For stabilization, a wide lens is forgiving, but walking shots still benefit from a stabilized body or a gimbal. Use a windscreen on your microphone and monitor audio, as lens noise can reach it. If you plan to film talking shots close up, check how the lens renders faces near the frame edge, and keep a little distance.
Building a Two-Lens Kit and Checking the Details
Many photographers end up wanting one wide prime and a second lens for a different job. If you choose the wider lens now, a standard prime or zoom later fills the gap. If you choose the 24mm first, you might add a longer prime for portraits, and a wide zoom if you need more coverage. Think about overlap: owning lenses only a few millimeters apart rarely makes sense, so a wide prime should sit well apart from the rest of the kit.
Before you buy, check the details on the maker’s page: weight, length, filter size, close focus distance, weather sealing, control layout and whether there is a customizable button. Compare the lens hood designs, as some are built in and others are removable. Physical handling affects daily use, so hold the lens on your body if possible.
If you buy used, inspect the front and rear glass for scratches and haze, test autofocus at close and far distances, and check for smooth ring action and clean contacts. Shoot test frames at wide apertures and look at all four corners. Ask about the return policy. And remember that, whichever you choose, a wide prime rewards a photographer who moves, so practice walking around your subject rather than zooming with your feet.
FAQ
Is 24mm wide enough for landscapes?
Yes, for many scenes. Choose 20mm when you want to include more foreground or fit tall subjects.
Do these lenses suit portraits?
They suit environmental portraits where the setting matters. For tight head shots, a longer lens is usually kinder to faces.
Which lens is better for street photography?
The 24mm is a classic choice for context without strong stretching, and the faster aperture helps in dim streets. The 20mm shows more of the scene and suits close, immersive pictures. Choose by how near you like to work.
Will either lens work for portraits?
They work for environmental portraits where the setting matters. Keep the subject near the center and avoid getting too close. For tight head shots, a longer lens is more flattering.
Do I need filters for landscapes with these lenses?
Not always. A polarizer or neutral density filter can help with skies and water, but check the filter thread and front element design on Sony's page first.
How do I focus for night sky pictures?
Use manual focus, magnify a bright star in live view and adjust until it is a small point. Recheck focus after several frames.
Is the 20mm too wide for beginners?
It can be challenging because everything looks small and edges stretch. With foreground subjects and a level camera, many beginners adapt quickly. Try a zoom at 20mm first if you want to test.
Are these lenses suitable for gimbal use?
Check each lens's weight and length against your gimbal's stated load. Balance the setup before recording, and test focus behavior in video.
Can I crop a 24mm image to look like a 28mm one?
Yes, though cropping reduces the pixel count and does not change perspective. A high-resolution body gives more room for cropping.
The Short Version
Choose the FE 20mm f/1.8 G for a wider view in a landscape, architecture or video kit. Choose the FE 24mm f/1.4 GM for a brighter, more traditional wide angle that handles low light and events. Both belong to the same mount, so the decision is purely about field of view and light.