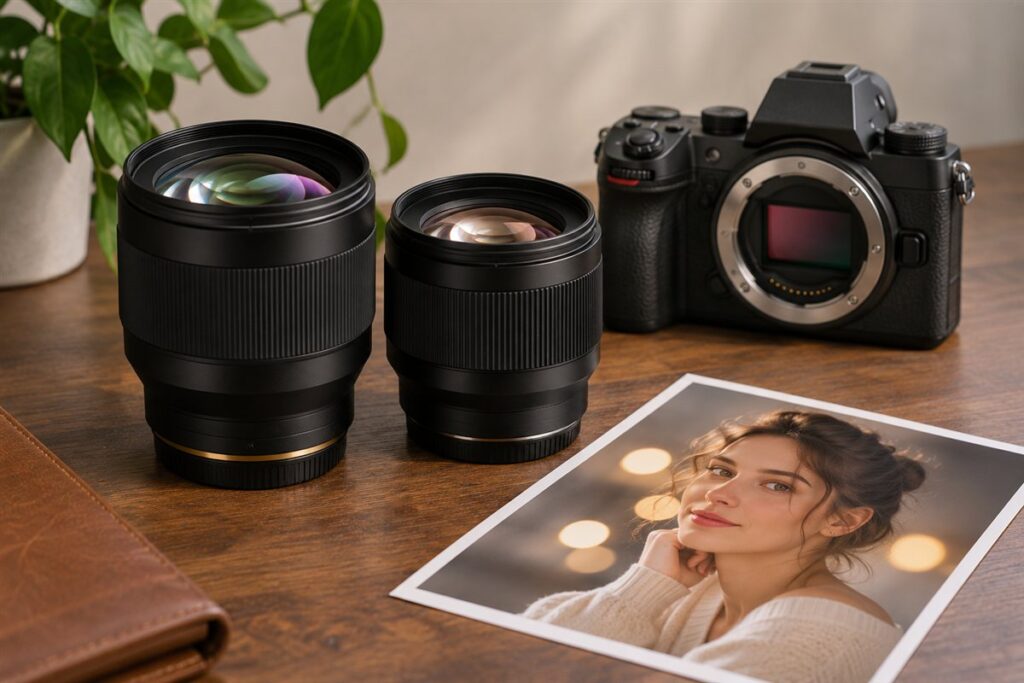
These two lenses share the same focal length and maximum aperture, so the real choice is the camera system you shoot with. Both are fast 135mm primes for full frame mirrorless bodies, built for portraits, events and any scene where you want a tight view and strong subject separation. Specs such as weight and minimum focus distance differ, so confirm them on each maker’s page.
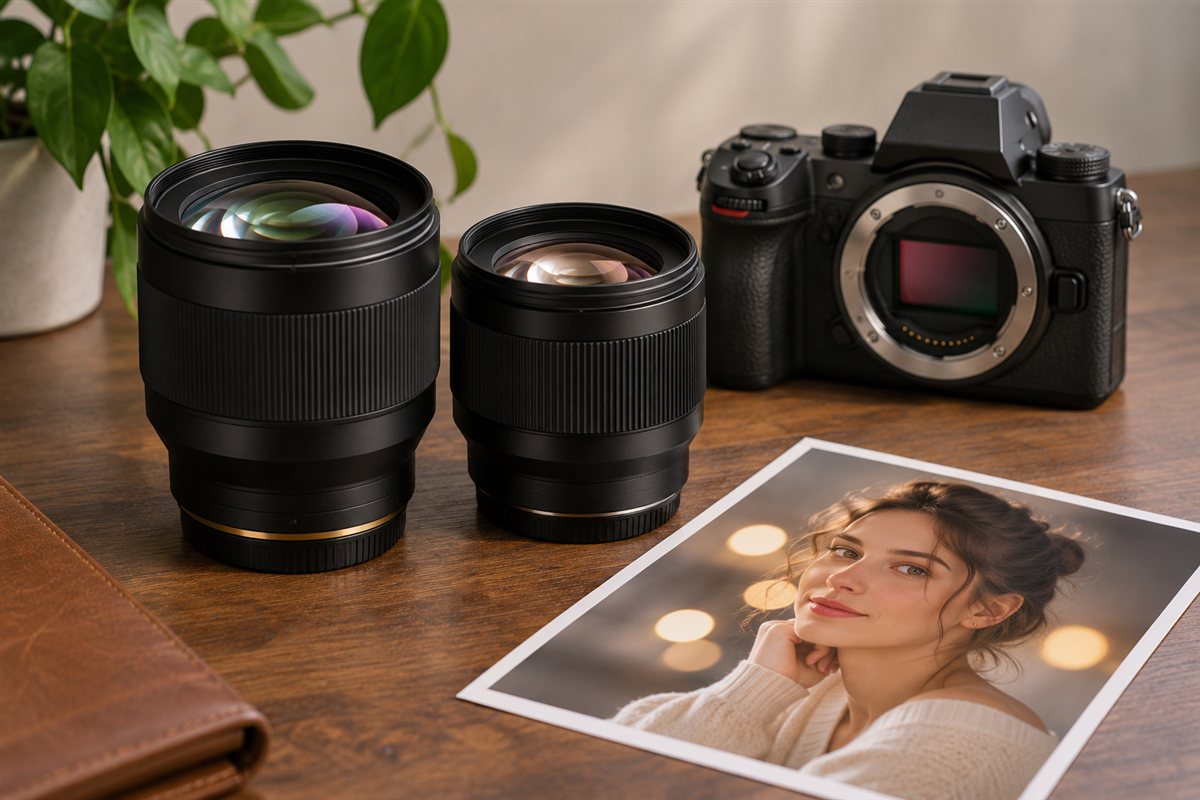
What Each Lens Is For
A 135mm lens on a full frame body gives a narrow angle of view and a compressed look. Faces stay flattering, backgrounds look larger behind the subject, and you can work from a comfortable distance. An aperture of f/1.8 lets in a lot of light and produces a shallow depth of field.
- Sony FE 135mm f/1.8 GM: an E-mount lens from Sony’s G Master line, aimed at working portrait and wedding shooters who want sharp detail and smooth blur.
- Nikon Z 135mm f/1.8 S Plena: a Z-mount lens from Nikon’s S-Line. The Plena name signals a focus on rich, even out-of-focus rendering.
Key Differences at a Glance
| Trait | Sony FE 135mm f/1.8 GM | Nikon Z 135mm f/1.8 S Plena |
|---|---|---|
| Mount | Sony E | Nikon Z |
| Focal length and aperture | 135mm, f/1.8 | 135mm, f/1.8 |
| Product line | G Master | S-Line, Plena |
| Typical use | Portraits, weddings, events | Portraits, weddings, events |
Because the headline traits match, small points decide the outcome: how the lens balances on your body, how its blur looks to your eye, and how its autofocus behaves with your camera’s subject tracking.
How to Decide
- Begin with your body. Native lenses work best on their own system. Adapting across mounts is possible in some cases but adds bulk and can limit features.
- Look at sample images. Judge background blur, edge rendering and color on files shot by working photographers, not just charts.
- Check handling. Hold both if you can. A long fast prime feels different on a small body than on a large one.
- Think about your subjects. For fast action such as dance or sports, autofocus tracking matters more than blur character.
- Read the maker’s page. Confirm weight, close-focus distance, weather sealing and filter size before you commit.
Shooting Tips for a 135mm Prime
These are general baseline settings, not fixed rules. For portraits, try f/2 to f/2.8 when you want both eyes sharp. Keep a shutter speed of roughly 1/250 or faster for handheld work, since a long lens magnifies small movements. Leave room between subject and background to get the most blur, and use a lens hood to protect contrast in backlit scenes.
Working Distance and Framing
A 135mm lens changes how you stand and how you pose people. On a full-frame body, a head-and-shoulders portrait usually needs a few meters between you and the subject, and a full-length shot needs a lot more. This is helpful in large spaces, since your subject has room to relax and is not crowded by a lens close to their face. In small rooms it can become a limit, because you may run out of floor or hit a wall before you can frame the person.
Before buying, think about where you shoot most. For outdoor portraits, parks, beaches and open venues, the distance is easy. For weddings and events, you may be working across a hall, a church aisle or a dance floor, which suits a long prime well. For studio work, check the length of your space. A rule of thumb is to walk the distance you would need, with a measuring tape or by pacing, and see whether it fits the room.
- For tight head shots, move in only as far as the minimum focus distance allows; check the maker’s page for the figure.
- For half-length shots, step back until the frame feels natural and the person looks relaxed.
- For groups, 135mm is often too long unless you have a lot of space.
- For candid shots at events, the distance lets people forget the camera, which helps expressions look natural.
- Be mindful of the background. At this focal length you see only a narrow slice of it, so you can choose that slice carefully by changing your position.
If your space is tight, a shorter lens, like an 85mm, may suit you better, but only you can judge from your typical shooting locations.
Shallow Depth of Field and Focus Technique
At f/1.8 on a 135mm lens, depth of field is very thin, particularly at close distances. This is part of the appeal, but it is also a challenge. A small movement of the subject, or of you, can move the eye out of the sharp zone. Many portrait photographers stop down a little, to around f/2 to f/2.8 as the main article suggests, to keep both eyes and part of the face in focus.
Use your camera’s eye or face detection if it has it, and place the focus point on the eye nearest to the camera. Check the maker’s page and your camera manual for how subject detection works with each lens, because performance can vary with camera model and settings. Avoid focusing on the face and then moving the camera to recompose, since the plane of focus can move away from the eye. Moving the focus point, or using tracking, is more reliable.
- Shoot a short burst for portraits, then choose the frame with the best focus and expression.
- Use a faster shutter speed if the subject is moving, because shallow depth of field makes any blur very obvious.
- Keep the camera steady with a firm stance, elbows against the body or a support.
- Check focus on the rear screen at high zoom, at least at the start of a session.
- When shooting wide open, make sure the subject is not moving toward or away from you fast enough to lose the focus plane.
With some practice, a wide-open 135mm becomes a precise tool. Until then, give yourself some margin by closing the aperture slightly.
Judging Background Blur and Rendering for Yourself
Many comparisons talk about the look of blurred areas, sometimes called bokeh, but people judge it differently. The two lenses are described by their makers as having a focus on strong subject separation and smooth rendering, and the Plena name points to the design priority. Rather than relying on words, examine sample images from photographers whose subjects resemble yours.
When you look at samples, check how point lights in the background are shaped and how the edges of the shapes look. Check whether the transition from sharp to soft is gentle, and whether backgrounds with branches, fences or patterns look smooth or busy. Notice what happens in front of the focus plane too, since foreground blur can add depth. Look at how colors and contrast change toward the edges of the frame.
- Compare images shot at the same aperture and similar distances, as these factors affect the blur.
- View photos at a large size on a good screen, not just on a small phone display.
- Look at backlit scenes for flare and contrast loss.
- Choose samples in the type of light you shoot in, such as indoor events or evening sun.
- Remember that editing and the camera body also affect the final look.
If you can rent or borrow the lens for your system, shoot your own scenes. Your eye and subject matter are the best test, and no list of qualities can replace it.
Events, Weddings and Low-Light Use
A fast 135mm is popular at events because it lets you shoot from a distance without a flash, and it separates a subject from a busy background. In dim venues, the f/1.8 aperture lets you hold a faster shutter speed or lower ISO than a slower lens. This is a major reason professionals consider it, but it is also why the weight and cost are justified for some and not for others.
For ceremonies, you can capture expressions from the back or the side without getting in the way. For receptions and speeches, the lens lets you isolate people from crowds. For dance and fast movement, test the autofocus ahead of time, as an event is not the place to learn a new tracking setup. Bring a second lens with a wider view, since 135mm will not cover groups or tight spaces.
- Use auto ISO with a minimum shutter speed fast enough for the movement you expect.
- Keep spare batteries and cards close, since long events use plenty of both.
- Scout the venue to find positions with clear sight lines to the key moments.
- Respect any rules about movement, noise and flash set by the venue or officiant.
- Consider the noise of the lens and camera in quiet moments, and check the shutter options in your camera’s manual.
A fast prime is a specialist tool. If your events are bright and active, you may not need the maximum aperture all the time.
Carrying and Protecting a Heavy Prime
Fast 135mm primes are among the larger and heavier prime lenses in a kit, so they deserve a plan for carrying and care. Check each maker’s page for the weight, length and filter size. A lens that feels fine for ten minutes in a shop can be tiring over a long day. A comfortable strap, a harness or a holster can move weight away from your neck, and a padded bag with a dedicated space for the lens protects it from knocks.
Use the hood for protection as well as for flare control. Keep the front and rear caps on when the lens is not in use. Clean the glass with a blower and soft cloth, not with your clothing. Changing lenses in dusty or windy conditions is risky, so find a sheltered place or turn the camera downward while swapping. Check whether the lens has weather sealing according to the maker, and do not assume it protects against heavy rain or immersion.
- Do not leave the lens in a hot car or in direct sun, since heat can damage coatings and adhesives.
- If you move from cold to warm places, let the lens warm up inside a closed bag to limit condensation.
- Check the focus and zoom controls and the mount for wear and dirt from time to time.
- Consider insurance for an expensive lens, and keep your receipt and serial number.
- If the lens is dropped or knocked, test focus accuracy and check for movement of internal parts before an important job.
Looking after the lens protects both its performance and its resale value.
FAQ
Can I use the Sony lens on a Nikon body?
Not directly. The two use different mounts, and the flange distances and electronics are not compatible without an adapter. Adapters exist for some pairings, but they may limit autofocus, so check compatibility first.
Is 135mm too long for indoor portraits?
It can be in small rooms, since you need enough distance to frame a person. In a large studio, hall or venue it works well and gives a flattering, compressed look.
Do I need a tripod or monopod with a 135mm prime?
Not usually for portraits, since the shutter speeds are fast. A monopod can ease fatigue at long events. A tripod helps in dim light with still subjects.
Can I crop images from a 135mm lens for more reach?
Yes, as long as the sensor has enough resolution. Cropping reduces pixels, so keep it modest if you plan large prints.
Does 135mm work for landscapes?
It can, for compressed views of distant hills or layered scenes. It is a narrow view, so most landscape photographers use wider lenses for general work.
What shutter speed should I use for moving children?
Start with a speed faster than the baseline in the article, then adjust to your subjects. Active children move quickly, so test and review the images.
Is image stabilization built into these lenses?
This depends on the lens. Check each maker's page for stabilization details, and check how your camera's own stabilization works with each lens.
How do I avoid flare when shooting into the sun?
Use the hood, change your angle slightly, and block direct sun from the front element with your hand or an object out of the frame. Some flare can add a mood, so check what you like.
Should I use a UV or protective filter?
It is a personal choice. A filter adds another glass surface that can affect flare, but it can protect the front element. If you use one, choose a good-quality filter of the right size.
The Short Version
These lenses aim at the same job, so choose the one that belongs to your camera system. If you shoot Sony, the FE 135mm f/1.8 GM is the natural match. If you shoot Nikon Z, the Plena is the one to choose. Confirm exact specs on each maker’s page.