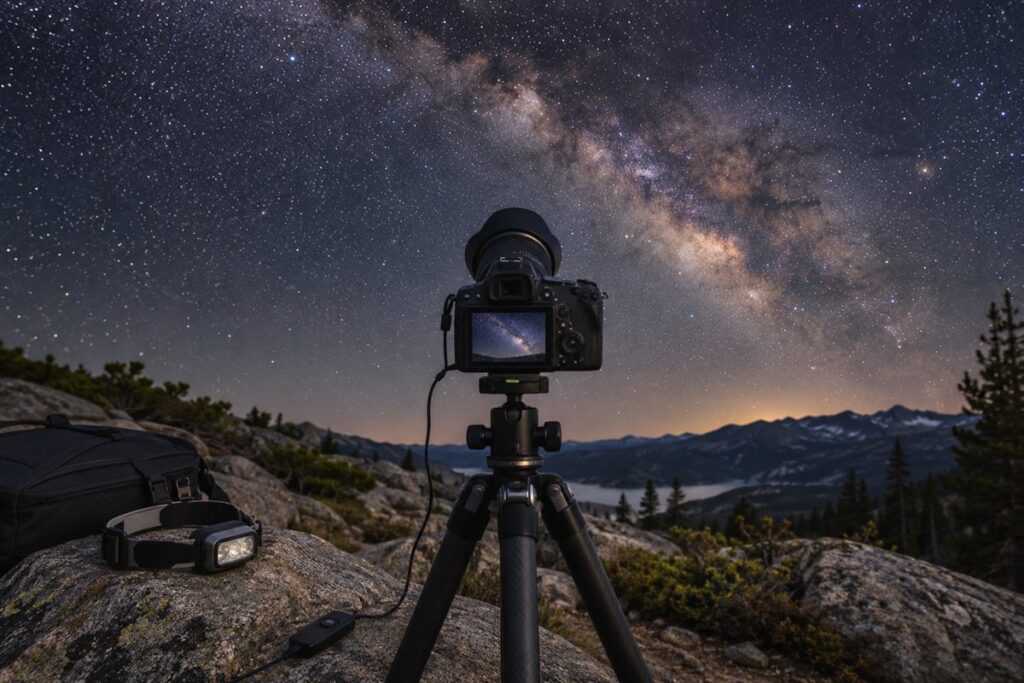
The ideal lens for photographing the night sky is wide, fast and sharp across the whole frame. It gathers as much light as possible while keeping points of light crisp near the corners. Here is how to weigh those qualities for your camera, plus a night walkthrough, common scenes, fixes and safety reminders for working in the dark.
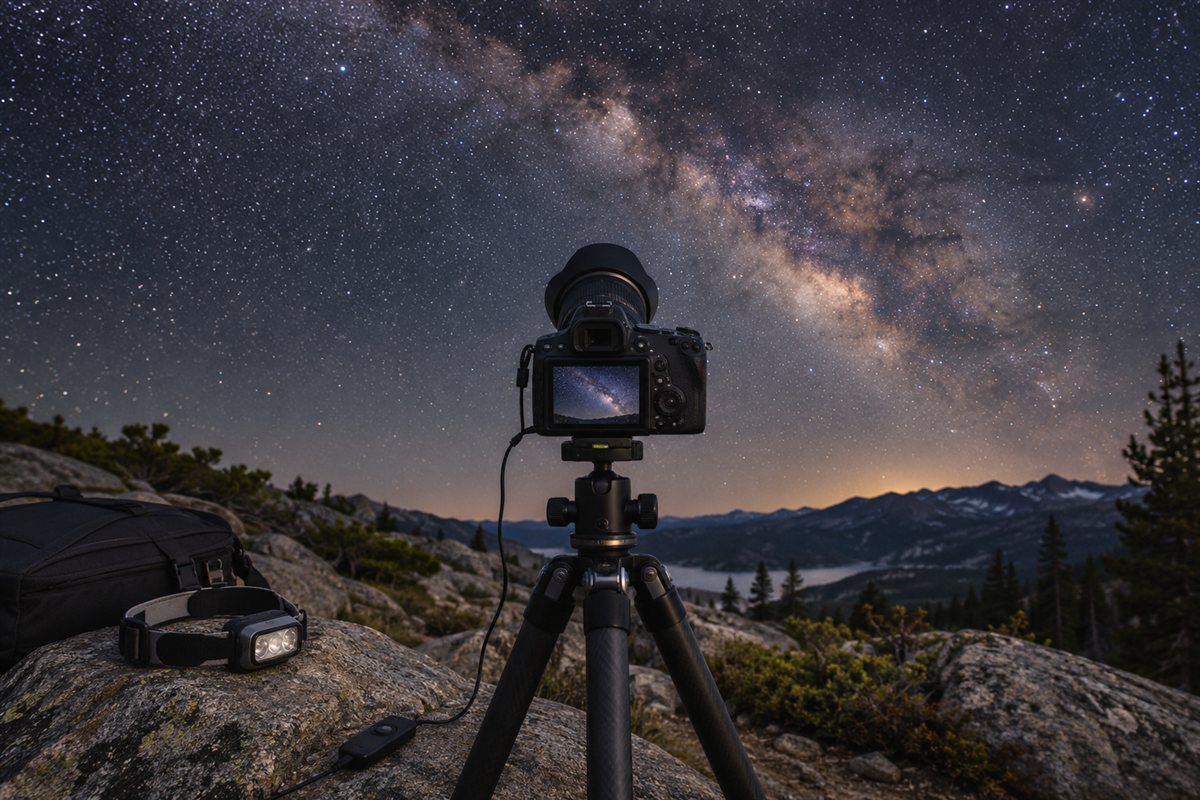
Wide Aperture for Faint Light
The sky is dim, and the Earth turns while you expose. A lens with a wide maximum aperture lets you collect more light in a shorter time, which keeps points of light from turning into trails and lets you use a lower ISO. Look for the lowest f-number you can comfortably carry.
Focal Length and Field of View
Wide lenses cover more sky and allow longer exposures before movement shows. Longer lenses frame individual objects but need tracking equipment to avoid blur. For a first night sky lens, a wide prime or wide zoom is the easy route.
- Wide: Milky Way arcs, landscapes with sky.
- Normal: constellations and moon scenes.
- Telephoto: the moon and bright planets, often with a tracking mount.
Corner Quality and Coma
Wide open, many lenses smear bright points near the corners into small wing shapes. This flaw is called coma. Sample images from other photographers, shot at night, show it better than any description. Stopping down slightly can help if you can afford the light loss.
Handling in the Dark
- Check that the focus ring has a clear infinity mark or a long throw for fine adjustment.
- Look for a ring that does not drift when you tap the camera.
- Think about front element dew, and plan for a dew shield or heater strap.
- Bring a sturdy tripod and a remote release.
Features Table
| Feature | Why it matters | What to check |
|---|---|---|
| Maximum aperture | Light gathering | Lowest f-number |
| Focal length | Sky coverage | Wide range for beginners |
| Corner sharpness | Clean points of light | Night sample images |
| Focus ring | Precise manual focus | Travel and smoothness |
Planning matters as much as gear. Choose a dark location away from city glow, check the moon phase, and arrive early to set up in daylight so you can find your focus and framing. A simple guideline called the 500 rule gives a rough maximum exposure time before the sky appears to streak, though modern high resolution sensors often need shorter times. Take a few trial frames, zoom in on the screen, and adjust. A modest lens used carefully in a good location will beat a better lens used under bright skies.
Weather and moon phase deserve a quick check before every trip. Thin high cloud can soften the view, a bright moon washes out faint detail, and a clear, moonless night away from towns gives the richest result. Allow your eyes about twenty minutes to adapt to the dark, and keep screens dimmed so you do not lose that adaptation.
A Night Session Walkthrough
- Arrive while there is still daylight. Walk the site, choose a composition with an interesting foreground, and note any hazards such as drops, water or uneven ground.
- Set up the tripod low and firm, attach the camera, and switch off lens stabilisation if the maker advises it for tripod use.
- Set manual mode, RAW format, the widest aperture you are happy with, and a high ISO to begin, often in the range of 1600 to 6400 depending on the camera.
- Set a long exposure using the 500 rule as a guide: divide 500 by the focal length in millimeters. A 20 mm lens gives roughly 25 seconds on a full frame body, and less on a smaller sensor or a high resolution one.
- Focus manually. Use live view, zoom in on a bright point of light, and turn the ring until the point is as small as possible. Mark the position with tape once you have it.
- Take a frame, zoom into the corners, and check for trails, coma and noise. Adjust exposure time or ISO.
- Use a two second delay or remote release, and take several frames, since stacking them later can reduce noise.
Common Scenes
Milky Way over a landscape
Use the widest, fastest lens you have, a dark site, and the time of year when the galactic center is above the horizon. Shoot when the moon is absent or low.
Moon and bright planets
These are far brighter than the background sky, so a short exposure and lower ISO suit them. A longer lens helps.
Aurora displays
They change quickly, so use shorter exposures than for a still sky, often a few seconds, and a wide aperture. Watch the forecast and local conditions.
Trails of light
Take many exposures of 30 seconds or so with minimal gaps, and combine them in software. A fast lens is helpful but not essential because you rely on accumulating time.
Quick Troubleshooting
| Symptom | Likely cause | What to try |
|---|---|---|
| Points of light look like short lines | Exposure too long | Shorten the exposure and raise ISO |
| Soft focus all over | Missed focus | Refocus on a bright point at high magnification |
| Fog or blur on the glass | Dew on the front element | Use a dew shield or a heater strap |
| Wing-shaped points in corners | Coma at wide apertures | Stop down slightly or crop the corners |
| Orange or grey sky | Light pollution or cloud | Move to a darker site and check the forecast |
Safety, Courtesy and Mistakes to Avoid
- Tell someone where you are going, take a torch with a red setting, and dress for the cold, since long waits chill you quickly.
- Mind your footing in the dark, and avoid cliffs, roads and water edges.
- Use a dim red light so you and other photographers keep their night vision, and avoid shining lights across other people’s shots.
- Do not trust autofocus at night. It will hunt, and you may not notice until you check the images.
- Never point a lens at the sun, even at dusk, unless you use proper solar filters made for the purpose.
Glossary
- Coma: a lens flaw that stretches bright points near the edges into wing shapes.
- Light pollution: artificial glow that brightens the night sky.
- Infinity focus: the focus setting for very distant subjects.
- 500 rule: a rough guide for the longest exposure before points of light blur into trails.
- Dew shield: a tube that slows condensation on the front element.
- Stacking: combining several frames to reduce noise.
Primes, Zooms and Kit Lenses Under the Stars
Almost any lens can photograph the night sky, but the type changes how easy the work is. Understanding the trade-offs helps you decide whether to buy something new or start with what you have.
Wide prime lenses, with a fixed focal length and a wide maximum aperture, are the traditional choice for the Milky Way and star fields. They tend to gather more light than zooms at similar focal lengths, and a simpler optical design can mean fewer flaws at the corners. Many are also compact, which helps when you hike to a dark site in the cold.
Wide zoom lenses cover a range of views, which helps when you are not sure how much foreground to include. Fast zooms exist, though they are usually larger and heavier than primes. A zoom at its widest setting and widest aperture may show more corner flaws than a good prime, so check night samples at that exact setting.
Kit lenses, the modest zooms that often come with a camera, can still record the Milky Way under a very dark sky if you set the widest view and widest aperture and accept higher ISO. Expect a shorter usable exposure and more noise than with a faster lens. They are a fine way to find out whether you enjoy the hobby before spending more.
- Choose a fast wide prime if corner quality and light gathering are your priorities.
- Choose a bright wide zoom if you want flexible framing and can carry the extra weight.
- Start with a kit lens if you want to learn the process first and upgrade later based on what you miss.
Sensor Size, Crop Factor and What Fast Really Means
The same lens behaves differently on different cameras. On a smaller sensor, the field of view is narrower, so you need a shorter focal length to capture the same area of sky. A lens around 24 mm on a full frame body covers a view that a lens near 16 mm gives on an APS-C body with a typical crop factor of about 1.5. On Micro Four Thirds, with a crop factor of 2, the equivalent would be around 12 mm.
The f-number tells you how much light reaches the sensor for a given lens, regardless of sensor size, but larger sensors usually collect more total light for the same exposure and show less noise at high ISO. That is why photographers often say a given lens is faster on a bigger sensor in practice, even though the f-number is identical. The f-number remains the clearest way to compare lenses on one camera.
Another point is the pixel size and sensor resolution. High resolution cameras show tiny star trails and optical flaws sooner, so they often need shorter exposures than a lower resolution body. If your camera has a very high pixel count, consider setting exposures a little shorter than the common rule suggests, and check by zooming in on a test frame.
How to Judge a Lens Before You Buy It
Because night sky performance is specialized, ordinary lens tests shot in daylight can mislead. Use a short checklist when you research a model.
- Look for sample photos of stars, taken at the widest aperture, with the corners visible. Check whether points of light stay round or stretch into wings.
- Look at how the lens renders bright stars near the edges. Some lenses show color fringes around bright points, which can be distracting.
- Check reports of vignetting, which is the darkening of the corners at wide apertures. It is easy to correct in editing, but strong vignetting can add noise when you brighten the corners.
- Read about focus behavior. Some lenses focus past infinity, which means a hard stop at the infinity mark is not reliable, and the best position must be found by eye on live view.
- Review the maker’s specifications for the filter size, weight and minimum focus distance, so you know whether it will suit your tripod and accessories.
Try to find samples shot on a camera similar to yours, and take the results as a rough guide only. Differences in sky conditions, processing and camera settings make direct comparisons imperfect. If you can rent or borrow the lens first, a single night with it will tell you more than hours of reading.
Choosing Focal Length by Target
Different subjects want different views, and matching them saves frustration.
Wide fields of 14 to 24 mm on full frame
These suit large star fields, the arch of the Milky Way and landscapes with a lot of sky. Shorter exposures are possible, and a little tripod movement matters less. They are the friendliest choice for a first night session.
Standard views of 28 to 50 mm
These show constellations and large patches of the Milky Way with more detail. Exposures need to be shorter because stars appear to move across the frame faster in terms of pixels. They suit simple compositions with a small foreground.
Short telephoto views of 85 to 135 mm
These frame large nebulae and star clouds and are popular with tracking mounts. Without tracking, you will be limited to very short exposures, so plan to stack many frames.
Longer lenses of 200 mm and above
These show the moon, planets and star clusters at larger scale. They demand precise focus, sturdy supports and, for deep sky targets, a tracking mount. They are not the best first choice for a beginner.
Accessories That Work With the Lens
A lens is only part of the setup. A few accessories make a large difference, and they tie directly to the choices above.
A sturdy tripod is first. Wind and soft ground can ruin a long exposure, so choose a model that holds your camera and lens steadily, and hang a bag from the center column if the maker permits. A remote release or the camera’s built-in timer avoids shake from your finger.
Switch off any lens or in-body stabilization when the camera is on a tripod, unless the maker’s guide says otherwise. On some systems, the stabilizer can introduce small movements during long exposures.
Keep the front element clean, but avoid cleaning in the field with rough materials. A blower and a soft lens cloth are enough, and a lens hood or a dew shield reduces stray light and slows condensation. Avoid stacking clear protective filters on a fast wide lens used at night, since extra glass can add ghost reflections around bright stars. Some people use light pollution filters for particular conditions, but their effect on color and exposure varies, so research them for your camera before buying.
A small star tracker, which rotates the camera to follow the sky, allows much longer exposures at lower ISO. It adds cost and a learning curve, but it is the most direct route to cleaner, more detailed images with a modest lens. If you plan to go that way, a lighter lens is easier for the tracker to carry.
Budget Paths and Used Lenses
Night sky photography does not require the most expensive lens in a catalog. Manual focus lenses from independent makers are known for offering wide apertures at lower prices than comparable autofocus models, and since you focus manually at night anyway, the lack of autofocus costs you little. Check that the mount matches your camera, and look for a lens with a smooth focus ring and a clear infinity mark.
Used lenses can offer good value, but inspect them carefully. Look for haze, fungus or scratches on the glass, check that the focus ring moves evenly and test the aperture blades if possible. Take a few star or distant light samples in the first days, and keep the return policy in mind.
If your budget is tight, consider spending first on a tripod and a remote release, and use the lens you already own under a dark sky. Dark skies improve results more than any piece of gear, and the experience will tell you which lens feature you actually miss before you spend.
Processing Night Frames Without Fighting the Lens
The lens you choose affects the editing stage too. A few simple habits make the most of whatever glass you have, and they help you judge what a lens can really deliver.
Shoot in RAW and apply lens corrections cautiously. Most editing programs offer profiles that fix vignetting and distortion, and these are useful, but a strong vignette correction raises noise in the corners because it brightens dark areas. Compare the result with and without the correction, and choose the version that looks clean.
Noise reduction is the next step. High ISO files from dim skies carry noise, and gentle reduction helps, while heavy settings smear faint stars and the Milky Way’s fine structure. A better path, when the foreground is not moving, is to take several identical frames and combine them with a stacking program. The sky details stay while random noise averages away. For the ground, photographers often take a separate, longer exposure at a lower ISO, and blend it with the sky.
Adjust contrast and color gently. The night sky has subtle colors, and pushing saturation too far creates ugly color blotches, especially under light pollution. Use white balance to set a pleasing tone, and try a value in the range of about 3,500 to 4,500 kelvin as a starting point, then adjust by eye. Reduce the glow from nearby lights with a graduated adjustment near the horizon, and raise the contrast in the sky only as far as it still looks natural.
- Zoom to 100 percent at the corners to judge coma and star shape after any edit.
- Check for hot pixels, which show as tiny bright dots, and remove them with the software’s tool.
- Keep a copy of the untouched RAW so you can start again with the knowledge you gain over time.
Over time, you will notice the strengths and weaknesses of your lens in the files themselves. That feedback is the best guide to whether a new lens would help, or whether your technique and location choices still have more to give.
Ready to Buy? Start Here
If this guide helped you decide what to look for, these links take you to the next step.
Compare specific products
- How to Choose the Best Astrophotography Camera: A Buyer's Guide
- 6 Best Lens Filters: UV, CPL and ND Kits for Cameras (2026)
Gear for this guide
- Fast wide angle lenses on Amazon
- Star tracker mounts on Amazon
- Sturdy camera tripods on Amazon
- Lens heater straps on Amazon
As an Amazon Associate we earn from qualifying purchases. Prices and availability are shown on Amazon.
FAQ
Do I need an expensive lens to begin?
No. A modest wide prime with a fast aperture can produce striking results if you use a tripod and dark location.
Is autofocus useful at night?
Usually not. Switch to manual, magnify the live view on a bright point and focus carefully.
What ISO should I use?
It depends on the camera and aperture, but ranges from about 1600 to 6400 are common for wide, fast lenses. Check a trial frame for noise and brightness and adjust from there.
Should I shoot RAW?
Yes, if your camera allows it. RAW files hold far more information for adjusting brightness, color and noise, which matters in dark scenes.
Can I use a zoom lens?
You can, though zooms often have narrower maximum apertures, so exposures must be longer or ISO higher. A wide zoom with a bright aperture is a reasonable compromise.
What focal length is best for photographing the Milky Way?
Wide lenses between about 14 and 24 mm on full frame are most popular, because they capture a large part of the sky and allow longer exposures before stars trail. On smaller sensors, choose a shorter focal length to get the same view. Check the equivalent for your camera.
Can I photograph stars with a kit lens?
Yes, under a dark sky. Use the widest view and widest aperture, a tripod and a short exposure, and raise the ISO. Results will be noisier than with a faster lens, but you can still capture stars and the brighter parts of the Milky Way.
Does a lens need to be f/2.8 or faster for astrophotography?
Not strictly, but f/2.8 or wider is a common target because it gathers more light and allows shorter exposures and lower ISO. Slower lenses work if you accept higher ISO or longer exposures. Corner quality and focusing ease matter as much as the number.
Should I turn off image stabilization on a tripod at night?
Usually yes. When the camera is firmly supported, stabilization can introduce tiny movements during long exposures. Check your lens or camera maker’s guidance, since some modern systems detect a tripod automatically. Test with a few frames and zoom in to check for blur.
Are manual focus lenses good for night sky photography?
Yes. You focus by hand on a bright point anyway, because autofocus is unreliable in the dark. Many manual lenses offer wide apertures at lower prices, and some have smooth, long focus rings. Confirm the mount fits your camera and check the corner performance in night samples.
The Short Version
Choose a wide, fast lens with good corner performance, and pair it with a tripod. Check coma in night samples, and plan for dew. Wide framing is the friendliest way to learn, and a safe, courteous approach to the dark makes the evening far more enjoyable.