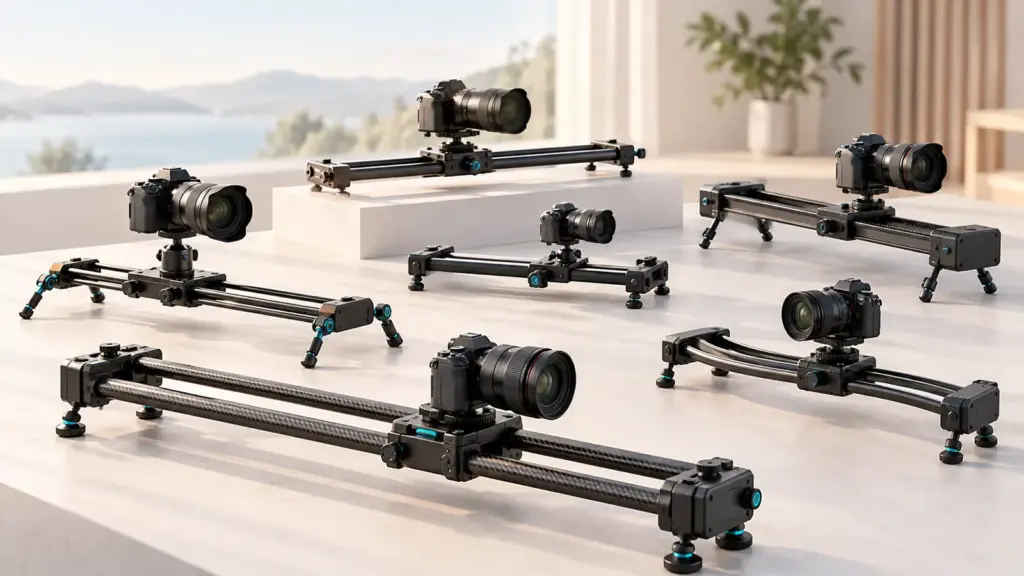
A camera slider moves your camera along a rail for smooth sideways, forward or angled shots. To choose one, decide how long a move you need, how much weight it must carry, and whether you want manual or motorized control. Smaller sliders suit travel, while longer ones suit studio and interview work.
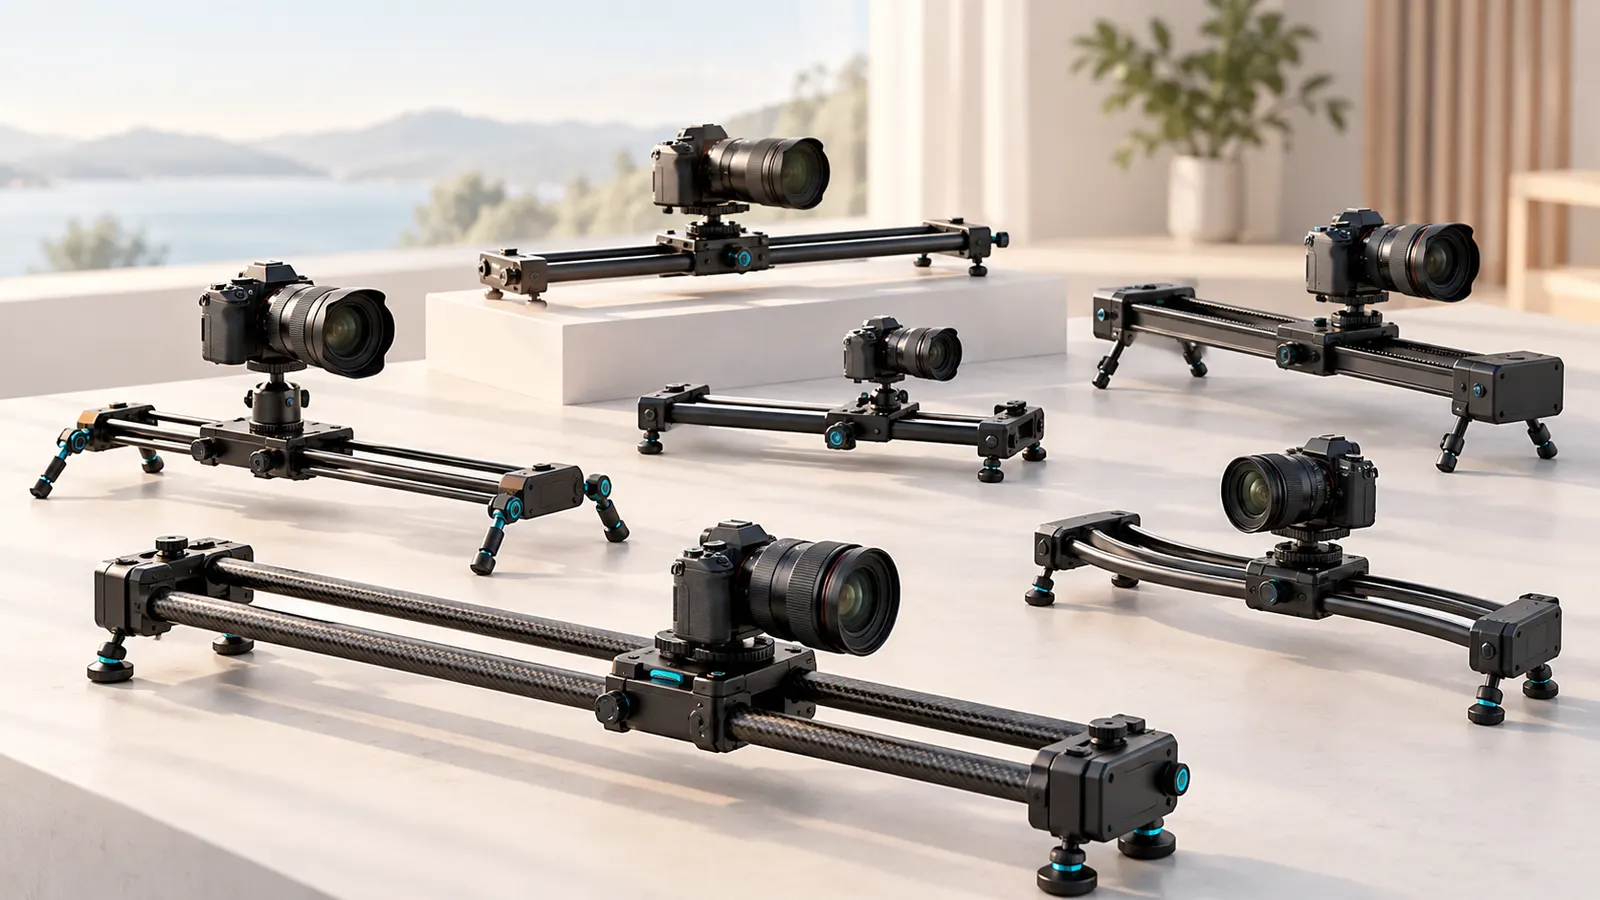
What a Slider Adds
The slow glide of a camera passing a subject adds depth and polish to product videos, interviews and scenery. The same rail can serve for time lapse, where the camera creeps along between frames. It is a creative tool, not a necessity, so think about the shots you will use it for.
Length and Travel
Rail length sets how far the camera can move. Short sliders fit in a bag and suit close work, such as tabletop products. Longer ones create sweeping moves but need more support, more space and more care when carrying. Choose the shortest rail that does what you need.
Load, Stability and Drive
- Check the maker’s listed payload and keep a margin over your camera and lens weight.
- Look at the carriage: smooth bearings give quieter, steadier motion.
- Check for levelling feet or the ability to mount on two tripods.
- Consider friction adjustment for slow, even moves.
Manual or Motorized
A manual slider is simple, light and silent, but smooth speed depends on your hand. A motorized one gives repeatable speed and enables time lapse, though it needs power and is heavier. Choose the type that matches your most common project.
Choosing in Order
- List the shots you want to capture.
- Choose rail length and weight capacity for those shots.
- Decide on manual or motor drive.
- Check how it mounts to your tripod or stands.
- Practice slow moves at home before a shoot.
Slider Comparison
| Type | Strength | Drawback |
|---|---|---|
| Short manual | Light and quiet | Limited move length |
| Long manual | Sweeping moves | Bulky to carry |
| Motorized | Repeatable speed, time lapse | Needs power |
Support is the hidden part of slider work. A slider is only as smooth as its stands, so make sure they are stable, level and weighted if the floor is slick. Balance the camera over the carriage so it does not tip, and tighten every mount. Move slowly, hold for a moment at the beginning and end of each shot, and plan the framing at both ends of the rail. Watch each take on a larger screen. If the motion looks uneven, try adding friction, slowing down, or shortening the move until it feels smooth.
Setting Up a Slider Shot, Step by Step
Careful setup matters more than speed. Allow ten minutes for your first shot of the day.
- Place the stands or tripods on firm, flat ground, spread the legs wide and weight them with a bag if the floor is slick or the area is windy.
- Attach the slider to the supports, then level it by eye and with a small spirit level, adjusting each leg until the bubble sits in the middle.
- Mount the camera on the carriage with the plate tightened by hand and then checked again, and position it so its weight sits over the centre of the carriage.
- Set the lens to a wider view for your first tries, since wide shots hide small bumps better than long lenses do.
- Lock focus by hand or use autofocus with a fixed point if your subject stays the same distance from the camera, and set exposure manually so brightness does not change mid move.
- Check the framing at both ends of the rail by sliding the camera to each end and adjusting the camera angle so the subject sits where you intend.
- Begin recording a moment before moving, then glide at a steady pace for the whole move, and let the camera settle at the end before stopping.
- Play the clip back on a larger screen, looking for wobble, tilt or a sudden change in speed, and repeat the move after you correct the cause.
Common Scenarios
Tabletop product shots
A short rail is enough. Keep the camera low and close, use a lens with a modest wide view and light the subject softly. Slow moves of a few centimetres often look elegant.
Interviews and talking heads
A gentle sideways drift behind the speaker adds depth. Use a very slow speed and a longer lens for a subtle effect, and keep the camera clear of anything that distracts.
Time lapse of clouds or city scenes
A motorized slider moves the camera a tiny distance between frames. Plan the interval, set exposure by hand, and make sure the battery and card will last for the whole sequence.
Outdoor landscape moves
Wind and uneven ground are the main problems. Keep the camera low, use sturdy stands, and wait for gusts to pass before recording.
Mistakes to Avoid
- Choosing a rail longer than needed. It adds weight and makes level setup harder.
- Overloading the carriage. Sagging or stiff motion shows quickly in the footage.
- Skipping the level check. A tilted rail makes the camera climb or drop during the move.
- Moving at a fast, uneven pace. Slow, steady motion looks more polished, and speed can be added in editing.
- Leaving the camera unsupported at the ends of the rail. A bump at the stop will show in the shot.
- Setting up in busy walkways. Cables and stands are trip hazards, so mark them or keep them out of the way.
Quick Troubleshooting
| Symptom | Likely cause | What to try |
|---|---|---|
| Jerky movement | Dirty rail or uneven pressure from your hand | Wipe the rail, add friction and use a steady hand or motor |
| Camera tilts during the move | Slider not level or loose plate | Re-level the rail and tighten the mount |
| Wobble at the end of the move | Supports flexing | Spread the legs, add weight and stop gently |
| Brightness changes in clip | Automatic exposure | Set exposure and white balance by hand |
| Motor stalls | Overload or low battery | Reduce weight or charge the battery |
Glossary
- Payload: the maximum weight the carriage is designed to hold.
- Carriage: the part of the slider that travels along the rail.
- Time lapse: a series of stills taken at intervals and played at speed.
- Friction control: an adjustment that makes the carriage glide with more or less resistance.
- Parallax: the shift in relative position of near and far objects as the camera moves.
- Focus stacking: combining frames focused at different distances to extend sharpness.
FAQ
Do I need a slider for good video?
No. Good lighting, sound and stable framing matter more. A slider adds a finishing touch.
Can I use it for photos?
Yes, for focus stacking in close up work, where the camera shifts a little between frames.
Can I use a slider with a lightweight tripod?
It depends on the tripod, as a flimsy one will flex under the extra weight and length. Check the load limit in the maker’s guide, and consider weighting the stand.
What is the best speed for a slider move?
Slower than it feels at first. A typical move across a short rail might take five to fifteen seconds, and a longer rail often takes more. The right pace depends on the scene and how obvious you want the motion to be.
How do I carry and store one?
Use the case or a padded bag, keep the rail free of dust, and store it flat or in the position the maker suggests. Wipe the rail and carriage before each session.
The Short Version
Choose a slider based on move length, weight capacity and manual or motor drive. Keep it as short as your shots allow, and practice smooth, slow motion.