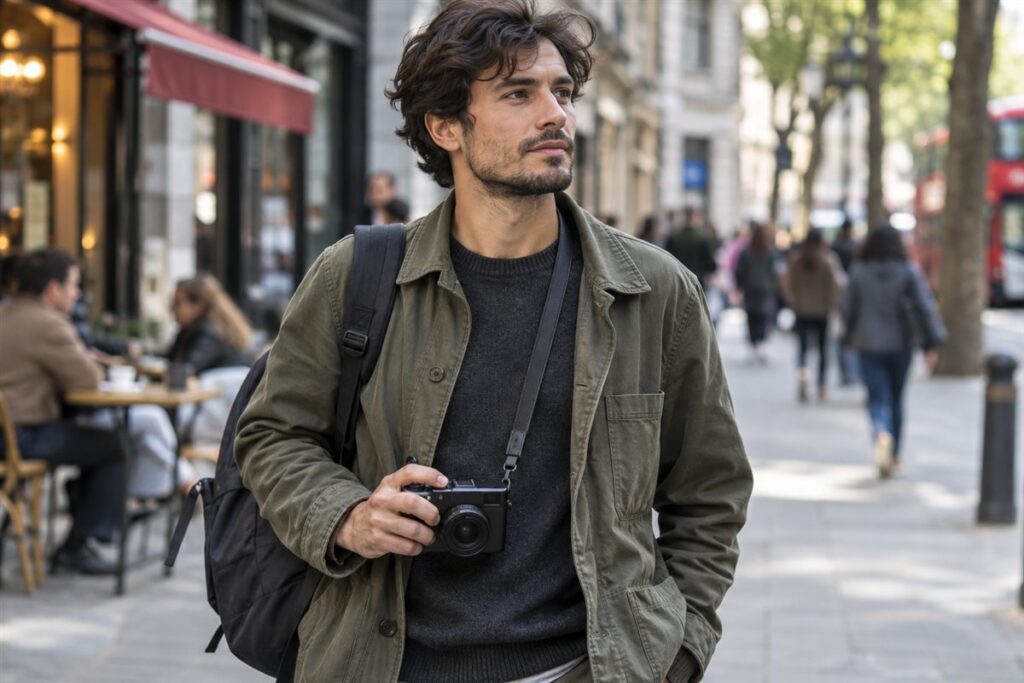
The best street photography camera is the one you will actually carry all day. Look for a compact body, quick and reliable focus, a quiet shutter and a lens that gives you a natural field of view. Image quality matters, but handling and size usually decide how many shots you get.
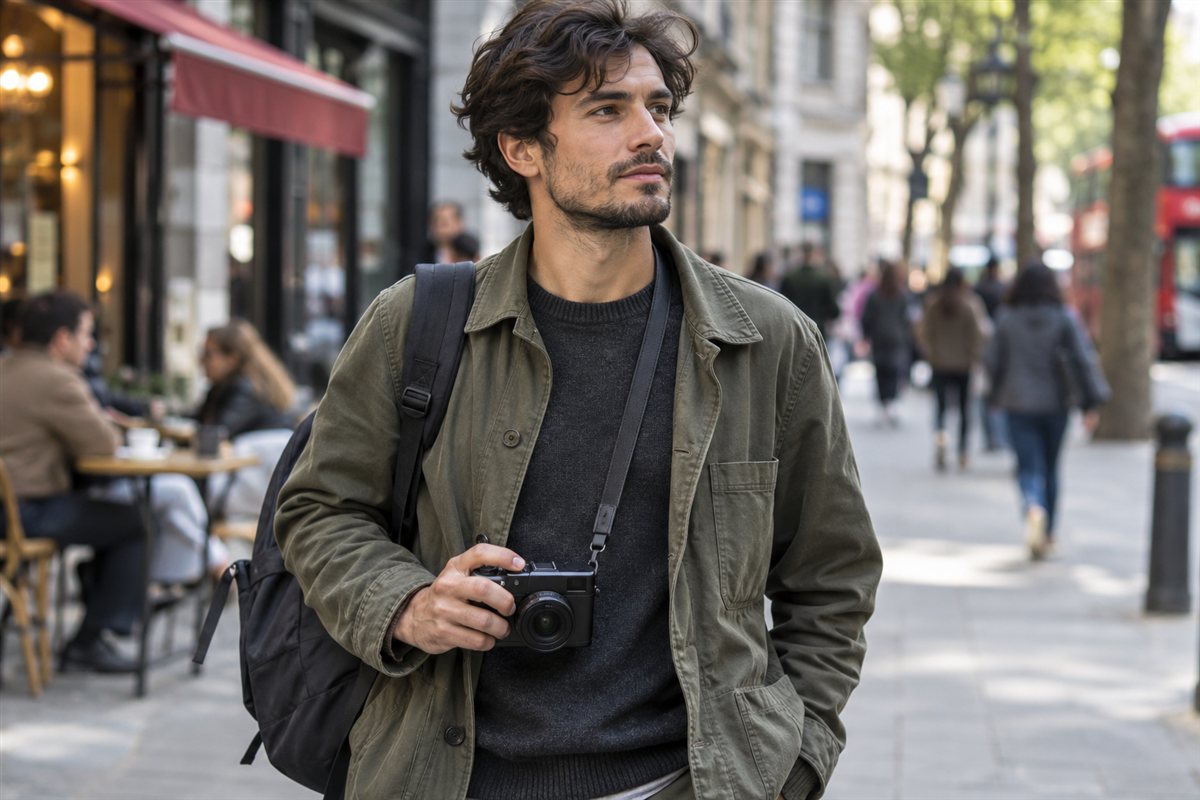
Small Beats Spectacular
A large camera with a big lens draws attention and tires your arms. A smaller body lets you walk for hours and blend in. Pocketable compacts, mirrorless bodies with small prime lenses, and some rangefinder-style cameras all work. Decide how much bulk you will tolerate on a long walk, and let that narrow your search.
Features That Help on the Street
- Fast, dependable autofocus, or a simple manual focus method such as zone focusing.
- A quiet shutter, ideally with a silent electronic option.
- A tilting or fixed screen that lets you shoot from the hip without looking intrusive.
- Direct controls for aperture, shutter speed and exposure, so you can adjust without menus.
- Reasonable battery life for a day of walking.
Lens Choices
Many street photographers like a wide to standard view because it places the viewer in the scene. A fixed lens keeps things simple and light. A zoom adds flexibility but also size. Think about how close you are happy to stand to strangers, since wider lenses require you to be nearer.
| Factor | Why it matters | What to check |
|---|---|---|
| Body size | Comfort and discretion | Hold it for a while in a shop |
| Focus speed | Catching fleeting moments | Does it hold up in low light? |
| Shutter sound | Draws less attention | Silent mode available? |
| Lens view | Shapes your style | Wide or standard prime |
Respect and Local Rules
Laws about photographing people in public differ between countries and places. Check the rules where you shoot, be courteous, and be ready to delete a photo or talk it through when someone objects. Staying friendly often leads to better pictures too.
Settings can be simple. Many street photographers set aperture priority or manual mode, choose a fairly small aperture so most of the scene is sharp, and keep the shutter speed fast enough to freeze walking. Auto ISO within a sensible limit saves fiddling. Turn off beeps and bright screen effects, set the focus point in advance, and practise raising the camera smoothly. The goal is to react quickly while staying calm and unobtrusive in the crowd.
Zone Focusing, Step by Step
Zone focusing removes autofocus delay by preparing the lens in advance. It works with any camera that lets you focus manually and shows a distance scale, and many cameras offer a snap focus feature that does the same job.
- Set aperture priority at a mid aperture, around f/8, which gives generous depth of field on a wide lens.
- Choose a focus distance of about two to three metres. Everything from roughly one and a half metres to far away will look acceptably sharp on a wide lens at that setting.
- Set auto ISO with a ceiling you accept, so the shutter speed stays near 1/250 second or faster in daylight.
- Turn off autofocus, or switch to the manual mode that holds your chosen distance.
- Walk until the subject is inside your zone, raise the camera and press the shutter in one smooth motion.
- Check a few frames and adjust the distance if images look soft, then keep walking.
Common Scenarios
A busy market at midday
Strong sun and deep shade create contrast. Expose for the bright areas, keep the shutter fast and look for people stepping through patches of light.
Rainy evening streets
Reflections and neon make rich pictures, but light is low. Raise ISO, use the widest aperture you have, and shield the front glass from drops with the lens hood or your hand.
Public transport
People are close and the space is tight. A small camera and a quiet shutter are the courteous choice, and a wide lens fits more of the carriage. Be especially thoughtful here, since people may feel trapped.
Festivals and parades
Crowds give plenty of subjects and also pushing. Keep the strap across your body, watch your footing and give performers space. If someone asks you not to photograph them, respect that.
Mistakes to Avoid
- Carrying too much. Extra lenses slow you down and tire you, so a single lens keeps you moving and helps you see.
- Staying hidden and tense. A calm, friendly attitude draws less suspicion than sneaking, and a smile can end a tense moment.
- Photographing children without thought for their parents. Local norms are stricter here, so keep your distance or ask first.
- Using flash in crowds. It surprises people and spoils candid moments, so rely on available light.
- Over-editing. Heavy changes can hide a weak picture, so aim to get most of the work right in the frame.
- Ignoring signs that forbid photography at transport hubs, government buildings and private venues.
Quick Troubleshooting
| Symptom | Likely cause | What to try |
|---|---|---|
| Subjects blurred while walking | Shutter speed too slow | Raise ISO or set a minimum shutter speed near 1/250 second |
| Focus lands on the background | Autofocus point in the wrong place | Use a single small point or zone focusing |
| Missed moments | Camera slow to wake | Adjust power saving or keep the camera on a short sleep delay |
| Faces too dark in sunlight | Backlighting | Add exposure compensation or move so light falls on the face |
| Camera attracts attention | Bright screen, beeps or bulky body | Turn off sounds, dim the screen, use a smaller lens |
Care and Upkeep Over Time
A street camera lives a rough life in pockets and bags, so a little routine pays off. Wipe the front glass and screen at the end of each outing, and blow dust from the lens mount area before storing the camera. Use a soft pouch or a padded insert so keys and coins cannot scratch the body.
Wear shows first on strap lugs, hot shoe covers and the small rubber grip. Check them every few weeks. Charge the battery after each walk, carry a spare in an inside pocket, and back up your files the same evening. After a few months, look back at your favourites to see which lens and settings you used most, and let that guide what you carry next time.
Glossary
- Zone focusing: setting a focus distance in advance so subjects inside a range are sharp.
- Prime lens: a lens with one fixed focal length.
- Depth of field: the distance range that looks sharp in a photo.
- Auto ISO: a setting that lets the camera adjust sensitivity within limits you choose.
- Exposure compensation: a control that makes the camera’s chosen exposure lighter or darker.
- Candid: a photograph of a moment that was not posed.
FAQ
Do I need a full-frame camera?
No. Smaller sensors give smaller bodies and lenses, and good light matters more than sensor size for most street scenes.
Can a phone do the job?
Yes, and many people enjoy it. A dedicated camera adds physical controls, better handling and more lens options.
What focal length suits street work?
Many people like views equal to about 28 to 50 mm on a full frame body. Wider views place you in the scene, while a standard view feels natural and needs less closeness.
Should I shoot in colour or black and white?
Either works. Shooting raw keeps both options open, since you can decide later whether colour helps or distracts.
How do I deal with someone who objects?
Stay calm, be polite and offer to show or delete the image. Most objections fade when people see you are respectful, and a short conversation can even lead to a willing portrait.
The Short Version
Choose a small, quiet camera with quick focus and a lens you enjoy. Handle a few in person, and favour the one that feels natural in your hands. Keep your manners and local rules in mind, and your confidence will grow with each walk.