Disclosure: As an Amazon Associate, reviewstook.com earns from qualifying purchases. Links to Amazon on this page are affiliate links; they cost you nothing extra.
Almost every PC builder asks the same question at some point: how many watts do I actually need? Buy too little and the PC can shut down, restart or crash when a game pushes the graphics card hard. Buy far too much and you pay for capacity you never use, and the power supply may sit in an inefficient part of its range. The right answer is neither a guess nor a rule like “always buy 1000 watts”. It comes from adding up what your parts can draw, leaving sensible headroom and checking connectors.
This guide walks through that process step by step. It explains what the wattage number on a power supply means, how much each major component tends to use, how to build a simple estimate, how headroom, efficiency and modern connectors change the answer, and which mistakes cause most problems. The figures are general guidance based on typical hardware behavior, not measurements from our own lab. Always check the power recommendation published by your graphics card maker, because it is tuned to the specific model.
By the Reviewstook Editorial Team. Last updated: November 1, 2026.
What the Wattage on a Power Supply Really Means
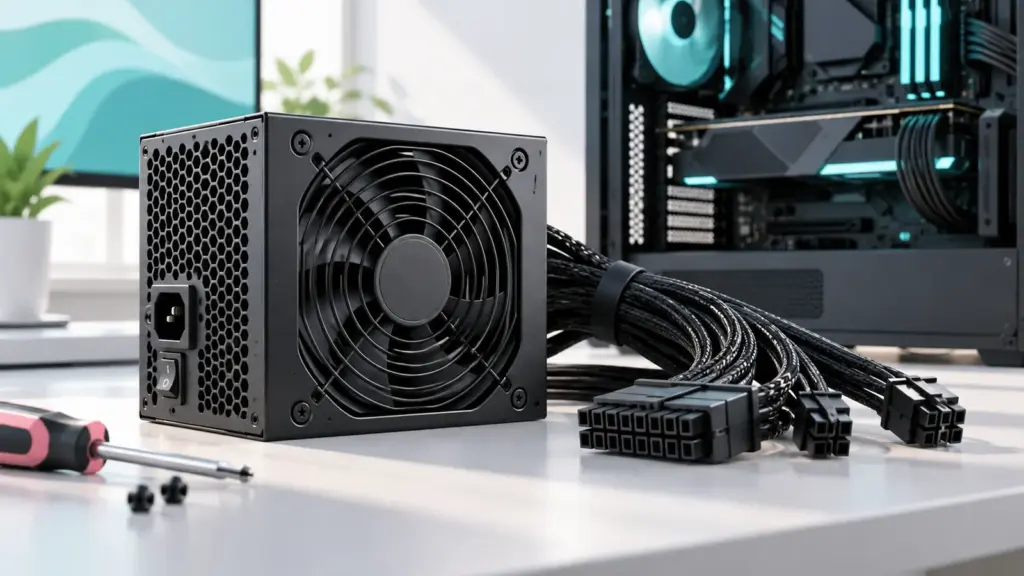
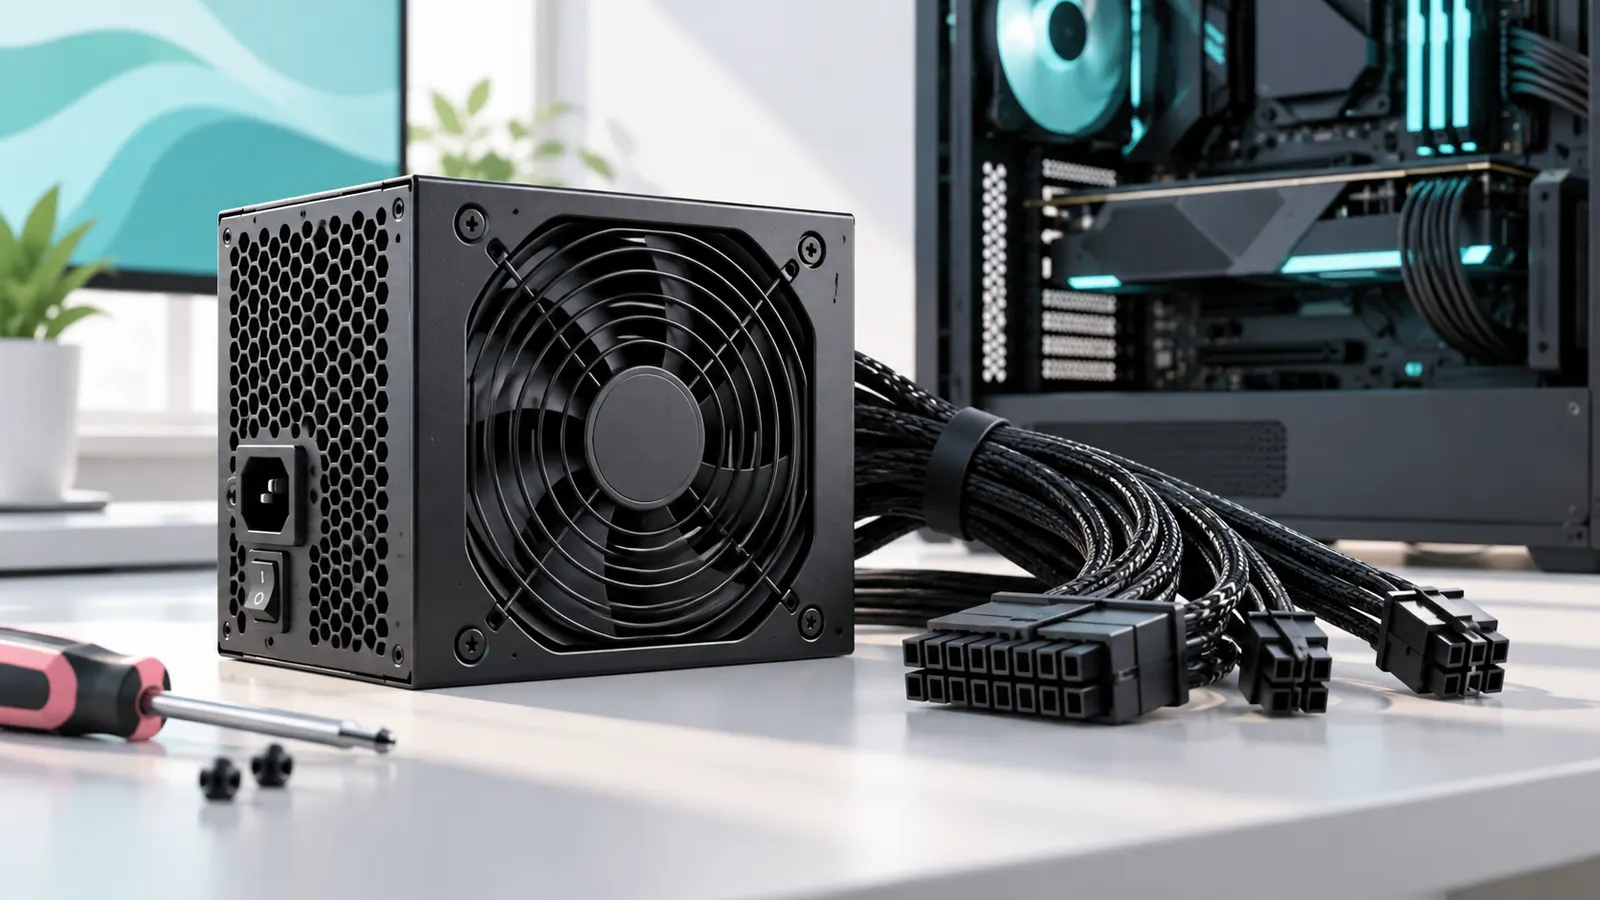
The wattage printed on a power supply is its maximum continuous output, the most power it can deliver to your components. It is not the amount the PC uses all the time. A PC with a 750 watt power supply does not draw 750 watts from the wall. It draws whatever the parts need at that moment, plus a small amount lost as heat inside the power supply.
Two points follow from this. First, a bigger power supply does not make a PC use more electricity. A 1000 watt unit feeding a PC that needs 300 watts supplies 300 watts, plus the usual conversion losses. Second, what matters is the peak demand of your system, the highest power it draws during heavy work such as gaming while a video capture runs, and whether the power supply can handle it with a safety margin.
Power supplies deliver most of their power on the 12 volt rail. Modern processors and graphics cards draw almost all their power from 12 volts, so the 12 volt capability is what counts. Reputable units list a combined 12 volt output close to their total rating.
In this guide
How Much Power Do Components Use?
You can estimate system demand by adding the power of each major part. The numbers below are typical ranges for current hardware, not guarantees. Use the maker’s published figures for your exact model whenever you can.
| Component | Typical power range | Notes |
|---|---|---|
| Mainstream gaming processor | About 65 to 125 W under load | Higher-end models can briefly draw more |
| High-end gaming processor | About 120 to 250 W under load | Check the maker’s maximum power figure |
| Entry-level graphics card | About 100 to 170 W | Some run from the motherboard slot alone |
| Mid-range graphics card | About 170 to 250 W | One or two power connectors |
| High-end graphics card | About 280 to 450 W or more | Check the maker’s recommended power supply |
| Motherboard | About 30 to 80 W | Depends on features and board class |
| Memory (RAM) | About 3 to 10 W per module | Small compared with other parts |
| NVMe or SATA SSD | About 2 to 10 W each | Spikes during writes |
| Hard disk drive | About 6 to 10 W each | More when spinning up |
| Case fans | About 1 to 5 W each | RGB lighting adds a little |
| Liquid cooler pump and fans | About 10 to 25 W | Depends on the model |
| USB devices | About 2.5 to 7.5 W per port | Charging phones adds more |
The two big numbers are the processor and the graphics card. In a typical gaming PC they account for the great majority of the load, which is why graphics card makers publish a recommended power supply and why those recommendations are the best single source for sizing.
A Simple Way to Estimate Your Needs
Follow these steps to build an estimate you can trust.
- Find your graphics card’s power figure. Look for the board power or total graphics power on the maker’s specification page, and note the recommended power supply wattage.
- Find your processor’s maximum power. Use the maker’s maximum turbo or maximum power figure rather than the base figure, because games and heavy tasks use the higher figure.
- Add the rest of the system. A reasonable allowance for the motherboard, memory, drives, fans and cooler in a typical build is about 75 to 150 watts. Use the higher end if you have several drives, a liquid cooler, many fans or lots of USB devices.
- Add the three numbers together. This is your estimated peak load.
- Add headroom. Multiply by about 1.3 to 1.5, or pick a power supply that is at least 100 to 200 watts above your peak. This covers short power spikes, aging, future upgrades and lets the unit run in its efficient range.
- Compare with the maker’s recommendation. If the graphics card maker recommends a larger unit, follow that. They have tested the card with various systems.
- Round up to a common size, such as 650, 750, 850 or 1000 watts.
Worked example
Imagine a mid-range gaming PC with a graphics card rated at around 200 watts, a processor that can draw about 120 watts under load, and an allowance of 100 watts for everything else. That is roughly 420 watts of estimated peak load. Multiplying by 1.4 gives about 590 watts, and the graphics card maker might recommend 650 watts. A 650 to 750 watt unit would be a sensible choice. Choosing 750 leaves room for a future graphics card upgrade without replacing the power supply.
Second example
Now consider a high-end build with a graphics card around 350 watts, a processor around 150 watts and 125 watts for the rest. That gives about 625 watts of peak load. With 1.4 times headroom the figure is roughly 875 watts, and many high-end card makers recommend 850 watts or more. An 850 to 1000 watt unit fits, especially if you plan to upgrade.
These examples use round, illustrative figures. Replace them with the numbers from your own parts.
Quick Reference by Build Type
The table below gives common starting points. It is not a substitute for checking your graphics card maker’s recommendation.
| Build type | Typical power supply range | Comment |
|---|---|---|
| Office or media PC with integrated graphics | 300 to 450 W | Quality matters more than size |
| Entry-level gaming PC | 450 to 600 W | Enough for a modest graphics card |
| Mid-range gaming PC | 650 to 750 W | The most common range |
| High-end gaming PC | 850 to 1000 W | For power-hungry graphics cards |
| Enthusiast or workstation build | 1000 W and above | Multiple GPUs or very high-power parts |
| Small form factor build | Depends on SFX units available | Check size and fan noise |
Our 850 W power supply list compares units in the range most high-end builds choose.
Why Headroom Matters
It is tempting to buy a power supply that matches your estimated load closely. Here is why a margin is wise.
Power spikes
Graphics cards can briefly draw much more than their average rating for tiny fractions of a second when the load changes suddenly. A power supply with too little headroom may trip its protection and shut the PC down, which looks like a random crash during gaming. Newer power supply standards were designed to handle larger short spikes, but headroom still helps.
Efficiency curve
Power supplies are usually most efficient in the middle of their load range, often somewhere around 40 to 70 percent of rated output. At very low load they are less efficient, and at the very top they run hot and noisy. Choosing a unit where your typical load sits in the middle gives good efficiency and quieter fans.
Aging
Components inside a power supply, especially capacitors, lose capacity gradually. A unit that was just enough when new may struggle after years of use. Headroom gives you years of reliable service.
Upgrades
A common reason to replace a power supply early is a graphics card upgrade. Buying a bit more now can avoid replacing the unit later. Do not overdo it, because a much bigger unit costs more and can be less efficient at light loads.
Efficiency Ratings: What 80 Plus Means
The 80 Plus program rates how efficiently a power supply converts wall power into the power your PC uses. Common levels are Bronze, Silver, Gold, Platinum and Titanium, with each step more efficient at tested loads.
Efficiency affects three things. It affects how much electricity the unit wastes as heat, how hard its fan has to work, and how much you spend on power over time. The differences between adjacent levels are modest for typical gaming use, so a Gold unit from a reputable brand is a popular balance of price and efficiency. A higher rating does not mean higher quality in every respect. Build quality, protections and warranty matter too, and a good Bronze unit can beat a poor Gold unit.
Look at the whole package: reputable brand, long warranty, solid reviews and the connectors you need. For more on choosing, see our power supply guide.
Connectors and Standards: ATX 3.x and the 12V-2×6 Cable
Wattage is only half of the question. The power supply must also have the right connectors for your parts.
- 24-pin motherboard connector. Every ATX power supply has one.
- CPU power connectors. Most boards need one or two 8-pin CPU connectors. High-end boards may need more.
- PCIe power connectors for the graphics card. Many cards use one to three 8-pin connectors, and newer high-power cards use a 12V-2×6 connector (an updated version of the 12VHPWR connector).
- SATA and Molex connectors. Needed for drives and some accessories.
The ATX 3.x standards were designed with modern graphics cards in mind. They define the 12V-2×6 connector and require units to tolerate short, large spikes in graphics card power. If you buy a graphics card that uses the newer connector, a power supply with a native cable avoids adapters. If your power supply lacks it, the card maker may include an adapter, but a native cable is cleaner and avoids bending the connector sharply.
Always seat the connector fully and avoid tight bends right next to it. Check the card maker’s installation notes.
Modular, Semi-Modular and Non-Modular Units
Modularity affects cable management, not performance.
- Fully modular. Every cable detaches. This gives the tidiest build and makes it easy to remove unused cables.
- Semi-modular. The main cables are fixed, and others are removable. A reasonable middle ground.
- Non-modular. All cables are attached. This is usually the cheapest, but unused cables need to be tucked away.
In a small case, modular cables make life easier. In a large case with good space, non-modular units work fine.
Size and Fit
Power supplies come in different physical sizes. The standard ATX size fits most cases. SFX and SFX-L units are smaller and used in compact cases. Check which size your case supports, and check the depth, since a long unit can clash with cables or drive cages.
Smaller units can cost more per watt and sometimes have louder fans, so they suit only builds that need them.
Common Sizing Mistakes
- Using an online calculator blindly. Calculators can overestimate or underestimate. Use them as a rough guide, then check your graphics card maker’s recommendation.
- Ignoring the 12 volt rail. Some very cheap units advertise a big wattage but deliver less on the 12 volt rail where it matters.
- Buying on wattage alone. A well-built 650 watt unit can be a better choice than a poorly built 850 watt unit.
- Not planning for upgrades. A tight fit today can become a replacement later.
- Using too many adapters. Splitting a single cable to feed a power-hungry graphics card can overload it. Use the separate cables the card requires.
- Forgetting connectors. A powerful unit that lacks the connectors your graphics card needs will not work without adapters.
- Buying far too large. A very large unit for a low-power PC can be inefficient and wasteful.
- Buying unknown brands. A power supply protects every other part in your PC. Choose a reputable brand with a long warranty.
Signs Your Power Supply Is Undersized or Failing
If you already have a PC and suspect the power supply, watch for these signs:
- The PC shuts down or restarts under heavy load, especially during gaming or rendering.
- Random crashes or freezes that appear only when the graphics card is working hard.
- Coil whine or buzzing that changes with load, which can be normal but sometimes accompanies stress.
- Fan noise from the power supply that is much louder than before.
- A burning smell, visible damage or swollen components. Stop using the PC immediately if you notice these.
- Power supply protection tripping, indicated by the PC turning off and needing the switch toggled before it starts again.
These symptoms can also come from overheating, drivers or faulty memory, so check the whole system. Our guide to fixing stuttering in PC games explains how to separate power problems from other causes.
How Upgrades Change the Answer
When you change a major part, re-check the numbers. A new graphics card with a higher power rating is the most common reason a power supply becomes too small. A processor upgrade can also raise demand, especially if you use a high-power model. Adding drives, fans and a liquid cooler adds smaller amounts.
Before upgrading, find the new part’s power figure and maker recommendation, add it to the rest of the system and compare with your power supply’s 12 volt capability. If the numbers are tight, replace the power supply at the same time as the part rather than risking stability problems. Our guides to graphics cards, gaming CPUs and liquid coolers list parts to compare.
Should You Buy Based on Electricity Costs?
For most gamers, power supply efficiency has a small effect on the electricity bill compared with the PC’s overall draw. A higher efficiency rating saves a little energy, but the savings take a long time to repay a large price difference. Choose efficiency level based on a balance of price, noise and build quality, not on the expectation that it will pay for itself quickly.
If your PC runs many hours a day, such as a home server or a workstation, efficiency matters more. For a typical gaming PC used a few hours daily, a good Gold unit is a sensible choice and a more expensive tier is optional.
A Short Buying Checklist
- Find your graphics card maker’s recommended power supply.
- Add up your estimated peak load and add headroom.
- Pick a wattage in the range that results, rounding up.
- Confirm the unit has the connectors your graphics card and motherboard need, including 12V-2×6 if required.
- Choose a reputable brand with a long warranty.
- Pick 80 Plus Gold or better if the price difference is small.
- Choose the cable style that suits your case: modular for tidy builds.
- Confirm the physical size (ATX or SFX) fits your case.
- Check reviews for noise, coil whine and reliability reports.
Ready to Buy? Start Here
If this guide helped you decide what to look for, these links take you to the next step.
Gear for this guide
- Power supplies 750W on Amazon
- Power supplies 850W on Amazon
- PSU testers on Amazon
- Power strips with surge protection on Amazon
As an Amazon Associate we earn from qualifying purchases. Prices and availability are shown on Amazon.
Going Deeper: Worked Examples for Real-World Builds
Numbers become useful when they are attached to machines people actually build, so consider how the estimation method in this guide plays out across common patterns. A compact esports machine built around a modest processor and a mid-range graphics card lives comfortably in the lower wattage classes, because its parts were chosen for efficiency at high frame rates rather than raw throughput, and it will run quietly on a quality unit that a flagship build would outgrow. The same case and cooler could not simply accept a top-tier graphics card later without revisiting the power supply, which is exactly the kind of forward check this guide wants you to do before the upgrade, not after the first shutdown.
A balanced mainstream build, the kind most players assemble around a current mid-range processor and a strong but sensible graphics card, lands in the middle classes where the best-value quality units cluster. This is the easiest sizing job in PC building: add the realistic draws, leave headroom for spikes and a future modest upgrade, and choose on quality, noise and warranty among units that meet the number. A high-end build with a flagship graphics card and a many-core processor is where discipline matters most, because marketing and forum folklore both push toward enormous units; the honest arithmetic, plus headroom, usually lands well below the numbers people fear, provided the unit is a quality one with the right connectors.
Small Form Factor and Living-Room Builds
Compact cases change the question from how many watts to which physical supply. Small-form-factor units pack their capacity into a fraction of the space, run warmer by design, and make cable length and flexibility part of the sizing decision, because an over-long cable bundle can block airflow in a tiny case. In a living-room machine, noise joins the calculation: a supply loafing in the middle of its range with a slow fan is a better companion to films and quiet games than a strained unit at its limit, even if both carry the same label wattage. Size the electrical need first, then shop the form factor that serves the room the PC lives in.
Reading Efficiency Curves Without a Lab
Efficiency is not a single number but a curve across load. Most supplies are at their best somewhere in the middle of their range, weaker at very light load, and gradually less efficient as they approach their ceiling. This is the technical reason behind the headroom advice throughout this guide: a correctly sized unit spends gaming hours near its efficient, quiet middle, while an undersized unit lives at its hot, loud edge and an absurdly oversized one spends desktop hours in its least efficient region. The certification tiers give you a rough map of that curve, which is all a buyer needs; you are choosing a neighborhood, not a laboratory instrument.
Electricity cost follows the same logic. The difference between adjacent efficiency tiers, across a year of typical gaming, is real but modest, and it should rarely outrank quality, protections and correct sizing in your decision. Where efficiency does pay twice is in heat: every wasted watt becomes heat the case must remove and noise the fans must make removing it, so an efficient unit in a small or quiet build earns its tier in comfort as much as in bills.
Connectors Today and at the Next Upgrade
Count connectors as carefully as watts. A modern graphics card may want a specific high-power connector or several traditional ones, the motherboard wants its processor power plugs, and drives and accessories still claim their share. Adapters can bridge some gaps, but a supply that natively provides what your card maker specifies is the cleaner and safer answer, and it is another reason to retire very old units at graphics card upgrade time rather than adapting them forward. Keep unused modular cables stored with the supply, labeled, because the cable you need at the next upgrade is always the one that wandered off.
Testing Your Estimate After the Build
You can sanity-check your sizing without instruments. A correctly sized system runs its supply fan calmly under your heaviest game, stays stable through long sessions and sudden scene changes, and shows no shutdowns when a demanding game loads. If you want a number, an inexpensive plug-in power meter shows whole-system draw at the wall, which you can compare with your estimate, remembering that the wall figure includes the supply own losses. Treat surprises as information: draw far above your estimate suggests a misread specification or a runaway background load, while draw far below it confirms the headroom you planned.
When to Upsize, When to Replace, When to Leave It Alone
Upsize when a planned graphics card genuinely raises the requirement, when you are adding a second power-hungry device class, or when a current unit shows the instability signs described in this guide under loads it once handled. Replace on age and behavior even at the same wattage when a unit is well past warranty and the system has become valuable. And leave a healthy, correctly sized supply entirely alone when nothing has changed, because the most common power-supply mistake after undersizing is churning a good unit for a bigger number that changes nothing. Do the arithmetic once, buy quality once, and let this component be the quietest decision in the whole build.
Decision Workshop: Sizing Three Difficult Cases
The first difficult case is the second-hand graphics card bargain: a powerful older card at a tempting price, with a power appetite and connector needs from a less efficient era. The card price is only half the transaction if your current supply cannot feed it natively and safely, so the honest comparison is card plus possibly a new supply against a newer, thriftier card that drops into your existing system. Many bargains survive that arithmetic; the ones that do not were never bargains. Run the numbers in this guide before the purchase, while both options are still open, rather than after a shutdown teaches you the same lesson.
The second case is the inherited PC: a machine of unknown age and specification that you want to upgrade for a family member. Its supply is the component to distrust first, because it is invisible, aged and often undocumented. Read its label, do the arithmetic for the parts you plan, and if the unit is old, vague or tired, let a modest new supply be the foundation of the whole refresh. It is the least exciting upgrade imaginable and the one that makes every other upgrade in that machine safe to enjoy.
The third case is the silent-PC project, where the goal is a machine nobody hears. Power sizing becomes acoustic design: choose an efficient unit whose fan stays slow or stopped across your real loads, which means its comfortable middle must cover your gaming draw, not merely its label. This buyer should read noise behavior as a headline specification, place the intake thoughtfully, and remember that an oversized-for-silence choice, made deliberately for fan behavior rather than from wattage anxiety, is one of the few good reasons to buy above the arithmetic.
More Questions Builders Ask
Do I add up every component maximum to size my supply? No, because components do not all peak at the same instant, and summing every theoretical maximum produces the oversized purchases this guide argues against. Add the realistic heavy-load figures for the processor and graphics card, which dominate, then a modest allowance for the board, drives, fans and USB devices together. The headroom you then add on top is precisely there to absorb the difference between that estimate and an unlucky real moment, so the method already accounts for peaks without pretending they all coincide forever.
What does transient spike really mean for my choice? Modern graphics cards can demand very brief bursts of power well above their average draw, lasting tiny fractions of a second. A quality supply with sensible headroom rides through them invisibly; an undersized or poor-quality unit may interpret one as a fault and shut the system down mid-game, which is why sudden shutdowns under load are a supply symptom until proven otherwise. You do not need to size for the spike as if it were continuous, you need a unit built and rated to tolerate it, which returns the decision, as always, to quality plus headroom.
Can I measure my current system draw to size a replacement? Yes, and it is the most honest data available to you. A plug-in power meter between the wall and the PC shows whole-system consumption during your heaviest real game; add headroom for the difference between that game and a heavier future one, remember the meter reads draw including the supply own losses, and size the replacement from that evidence. If the measured figure surprises you, high or low, believe the meter and re-read your component assumptions, because systems routinely draw less than forum folklore claims.
Is a modular supply worth the extra cost? In a small case or a windowed build you care about presenting, yes: fewer cables means better airflow, easier routing and a cleaner result you will appreciate at every future upgrade. In a large closed case with room to tuck spare cables away, a non-modular unit from a quality line spends the same money on the electrics instead, which is also a defensible trade. Decide by your case and your temperament, because the person who reopens the machine most often is the person modularity serves.
When my supply dies, how do I know it did not take other parts with it? Test methodically after fitting the new unit: boot with the minimum configuration, confirm drives and devices appear, then load the system gradually and watch for the faults that made you suspicious. Quality protections in the failed unit, if it had them, exist precisely to make this story boring, and in most cases the rest of the system survives untouched. If a component does misbehave afterward, its own warranty and the supply maker support are your routes, which is one more reason to buy supplies from makers who answer their mail.
Ownership Notes: The Supply as a Ten-Year Decision
Frame the purchase correctly and most sizing anxiety evaporates: you are not buying watts, you are hiring a guardian for every other component, for about a decade, at a daily cost too small to calculate. That frame explains the priorities repeated throughout this guide, quality before size, protections before features, the right connectors before theoretical headroom, and it explains why the cheapest line in a build spreadsheet is the most expensive place to save money. Builders remember their graphics cards fondly and their frame rates proudly, but the machines that survive to become hand-me-downs and home servers are the ones whose power supplies were chosen like infrastructure.
Keep the relationship documented. One note with the model, size, purchase date and cable inventory, kept with the build records, turns every future event, an upgrade, a fault, a resale, into a lookup. The supply is the component most likely to be asked questions it cannot answer verbally, usually at the moment a new graphics card is halfway installed, and your note is how it answers. Ten seconds of writing for ten years of certainty is the best exchange rate in this entire guide.
The Last Sizing Sanity Check
Before you pay, read your own arithmetic once more with fresh eyes: the processor and graphics figures are the realistic heavy-load ones, the allowance for everything else is present, the headroom is sensible rather than fearful, the connectors are native, the form factor fits, and the maker is one whose warranty you would trust at year seven. If all six are true, stop researching. Analysis has diminishing returns, the build is waiting, and a well-sized quality supply is a decision you should get to forget about for a very long time.
A Practical Upgrade-Day With the Supply at the Center
When the day comes to fit or replace a supply, treat it as the build quiet center. Power everything down and unplug it, photograph the existing cable runs before touching them, and remove the old unit with all of its modular cables, every one, because the new unit gets its own set and mixed cables are the one unforgivable error in this entire topic. Fit the new unit loosely, route the motherboard and processor cables first while access is easy, then the graphics power with the slack its connector deserves, and only then the small runs to drives and fans. Tighten, tidy, and inspect the whole case once with fresh eyes before the side panel goes on.
First power is a ceremony worth doing slowly. Switch on, watch and listen for anything unusual, confirm every fan that should spin is spinning, and let the machine sit at the desktop for a few minutes before asking it to play. Then load your heaviest game, the one that found the old unit limits, and give it a long session rather than a lap of honor. A supply that passes that evening, quietly, has told you everything it ever will, and the correct response is to close the case, file the paperwork with your build records, and forget its name for years.
The Spare-Unit Question
Builders who maintain several machines sometimes keep a known-good spare supply as a diagnostic instrument, and it is one of the smartest tools in a household fleet: half the mystery faults in PC support end the moment a suspect unit is swapped for a trusted one. If you keep a spare, keep it young, complete with its cables, and labeled with the date it was last proven in a working machine. A spare of unknown health is not an instrument but a second suspect, and it will double a troubleshooting evening instead of ending it.
The Quiet Truth About the Component Nobody Sees
Every other part of a gaming PC gets a moment in the light: the graphics card has its benchmarks, the processor its charts, the case its photographs. The power supply gets a wattage number and a corner of the case to be forgotten in, and yet it is the only component whose quality touches every other component every second the machine runs. This guide has treated it with unusual seriousness for exactly that reason. Clean power, honest protections and a size chosen by arithmetic are not enthusiast luxuries; they are the foundation that lets every other purchase be what it promised to be.
So make the decision once, make it with the pencil-and-paper method, and then grant the component its reward, which is your complete inattention for the next decade. If this article has done its work, you will never again be able to hear a builder say they will just reuse whatever supply was lying around without feeling a small, informed unease. Pass that unease on. It is how the hobby quietly gets safer, one well-fed machine at a time.
Watts Across a Machine Lifetime
Follow one PC across its whole life and watch the wattage question return in costume at every stage. At the build it is a sizing question. At the first graphics upgrade it becomes a compatibility question, answered by the note you kept. At the family hand-me-down it becomes a trust question, because you are vouching for a machine that will run in a child’s bedroom. At the end, as a home server or a spare, it becomes an efficiency question, where a right-sized supply sipping power quietly for years repays its quality one final time. The builders who answer well at every stage are not cleverer than the rest; they simply chose a quality unit with headroom once, wrote it down, and never had to start the conversation from zero again.
That is the deepest reason this guide exists in its present length for such a simple-sounding question. How many watts is really four questions wearing a trench coat, spread across a decade, and the arithmetic in these pages is how you answer all four with a single, calm purchase. Do the sum, buy the guardian, file the note, and let the machine get on with the loud, bright, watt-hungry business of being a gaming PC, secure in the knowledge that its quietest component has already done its thinking.
Efficiency at the Desktop, Where PCs Actually Live
Games make the headlines, but a gaming PC spends most of its powered life at the desktop, browsing, chatting, idling between matches, and the supply behavior in those hours shapes both the electricity bill and the room silence far more than the peak gaming draw does. A right-sized quality unit is calm in that life: its fan still or slow, its efficiency respectable at light load, its presence forgotten. When you read specifications, spare one thought for the idle machine at midnight, because that is the machine you will live with most, and choose the supply that serves the midnight as faithfully as the firefight.
The Receipt Drawer
End with the smallest possible system: one place, physical or digital, where this machine paperwork lives, supply included. Receipts, warranty dates, the sizing note, the cable inventory. It takes one drawer corner and repays it at every upgrade, claim and resale for a decade. File the supply papers tonight, while the decision is fresh, and the most forgettable component in your PC becomes the best documented one, which is exactly the relationship a guardian deserves.
One Sentence to Keep
If everything else in this guide is forgotten, keep the sentence it was built from: add up what your parts honestly draw, leave sensible headroom, and buy the best quality unit that fits that number and your case. Every good power supply decision is that sentence, and every bad one is a departure from it.
Frequently Asked Questions
How many watts do I need for a gaming PC?
It depends mostly on your graphics card and processor. Many mid-range gaming PCs run well on 650 to 750 watts, while high-end builds often need 850 to 1000 watts. Check your graphics card maker’s recommendation and add headroom.
Is a bigger power supply better?
Not automatically. A larger unit gives headroom for upgrades, but a unit far larger than you need costs more and may be less efficient at low loads. Choose a size that leaves a comfortable margin.
Does a higher wattage power supply use more electricity?
No. The PC draws the power it needs, and the power supply supplies it. A larger unit does not cause extra consumption on its own.
Is 750 watts enough for a high-end graphics card?
For some cards, yes, and for others no. High-power cards often have recommendations of 850 watts or more, so check the specific model.
Do I need ATX 3.x for a new graphics card?
Not always, but if your card uses the 12V-2×6 connector, an ATX 3.x unit with a native cable is the cleanest option. Follow the card maker’s guidance.
Can I use a power supply from an old PC?
Possibly, if it has enough 12 volt capacity and the right connectors, and if it is still in good condition. Old units can be worn, and a failure can damage other parts, so be cautious.
Does 80 Plus Gold mean better quality?
It means better efficiency at the tested loads, not necessarily better build quality. Look at the brand, warranty and reviews too.
What happens if my power supply is too small?
The PC may shut down or restart under heavy load, or fail to boot. In the worst case, a power supply that is overloaded repeatedly can fail.
Bottom Line
Do not guess your power supply size. Find your graphics card maker’s recommendation, add the processor and the rest of the system to estimate peak load, then add headroom and round up to a common size. Mid-range gaming PCs usually land at 650 to 750 watts and high-end builds at 850 to 1000 watts. Check connectors, choose a reputable brand with a long warranty and prefer efficient, well-built units over big numbers. If you plan to upgrade the graphics card soon, size for the future card, not only for today.
Related Reading
- PC Power Supply Guide: Wattage, Efficiency and Connectors
- Best Power Supplies
- Best Graphics Cards
- Gaming CPU Buying Guide
- Prebuilt vs Custom Gaming PC
- Fix Stuttering in PC Games
- All PC Components guides